This quote pretty accurately describes my feelings about succulents and other plants. In doing some research, I found this article on the 11 Ways Plants Enhance Your Mental and Emotional Health from Psychology Today. Take a look at #7; Higher levels of creativity! Who doesn’t love succulents and cacti? This article on the Top 8 House Plants to Help with Mental Health explains why those plants in particular help with your mental health. During these uncertain times, it’s definitely necessary to do what you can to keep stress and anxiety at bay. With that being said, who’s ready to put together some succulent decor?!
You can’t buy happiness, but you can buy succulents! And that is pretty much the same thing.
-Unknown
Time to Run through Three Succulent Decor Ideas
Simplicity at it’s Best
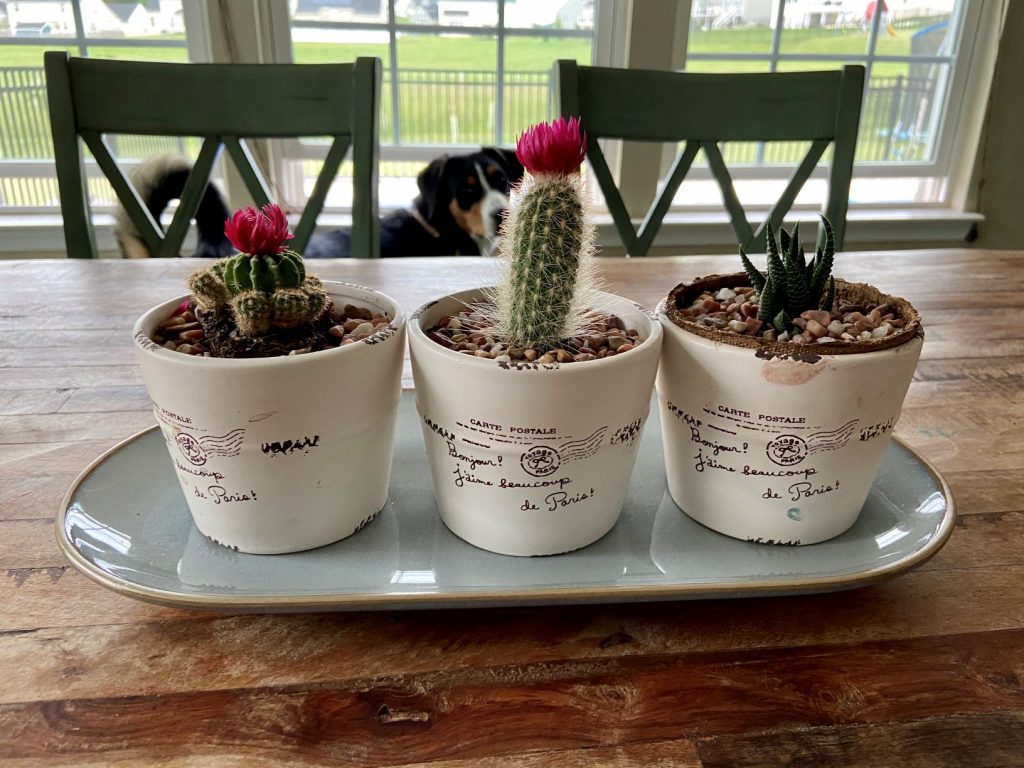
This simple set up comes by the way of Lowe’s gardening center, Michaels’ rocks, pots from a failed potting present and Target. The rocks were my attempt at creating a more prosperous environment for hen and chicks after many deaths. It sadly failed just like those before it. At some point, I will figure out how to keep them alive, but for now, I decided I’d be best to stick with simpler cacti for a bit. This bluish-gray platter was on clearance at Target and a perfect fit for these pots. So far, I’ve been able to keep these cacti alive by spritzing them with water I spray these cacti with a spray bottle once a week. The flowers have stuck around for months, so I’m at last doing something right.
Long Lasting Succulent Decor
When my daughter said she wanted to have succulent decor in her ‘new’ room, I pushed for the fake variety for her. I initially found some individual stems at Big Lots months before, but we needed more than what I’d gotten. We went on a little mother-daughter shopping trip to Michaels. My oldest is talented in a great many ways but doesn’t typically go the crafting route with me as my other two girls do. It was a nice time to get away and pick out some items for her to put together. She picked out the extra succulents, the glass container, and the sand color.


All that was needed was to throw the sand into the glass and arrange the succulents as she liked. I enjoy the look of this angled bowl combined with the varying heights of the succulents. In order to achieve that, we had to cut the thick stems with wire cutters to make it all work together. You can see it in her renewed room here…
Easy Square Plant Hanger
A little woodworking never hurt anybody…. Just kidding, it definitely could, if you’re not careful. This square hanger is super simple and involves a wee bit of woodworking.
Materials
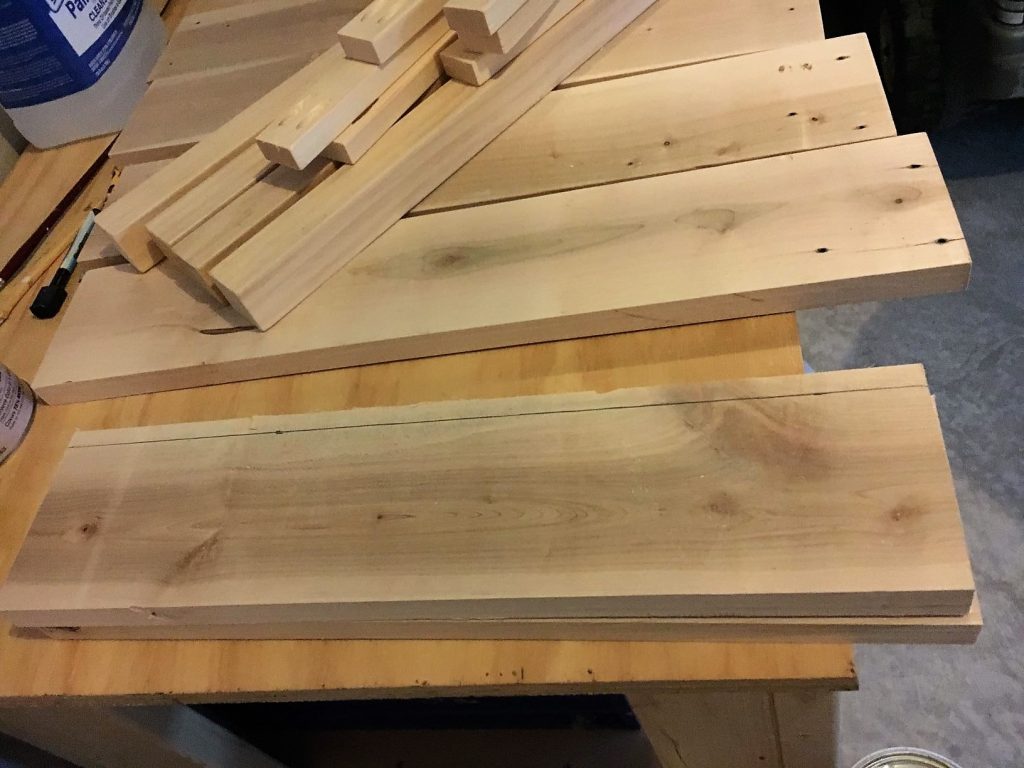
- 1″ x 3″ x 6″ pine
- Wood Glue
- Paint or stain
- Hook
- Small planter hanger
- A Plant
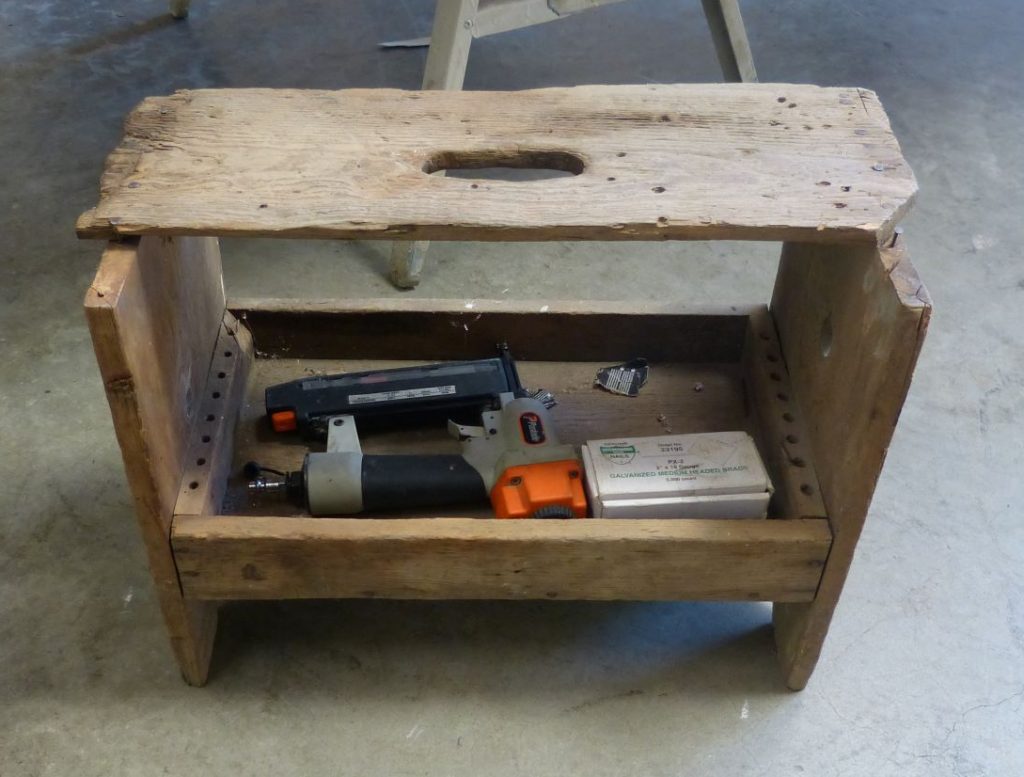
- Nail Gun
- Saw (I used this arm saw, but any variety of saws could cut the 4 pieces of wood.)

There are only a few steps for this project. 15 minutes and you could be finished with all four steps
- Cut the wood to size. Two 10 inch long pieces and two 8 1/2 inch pieces.
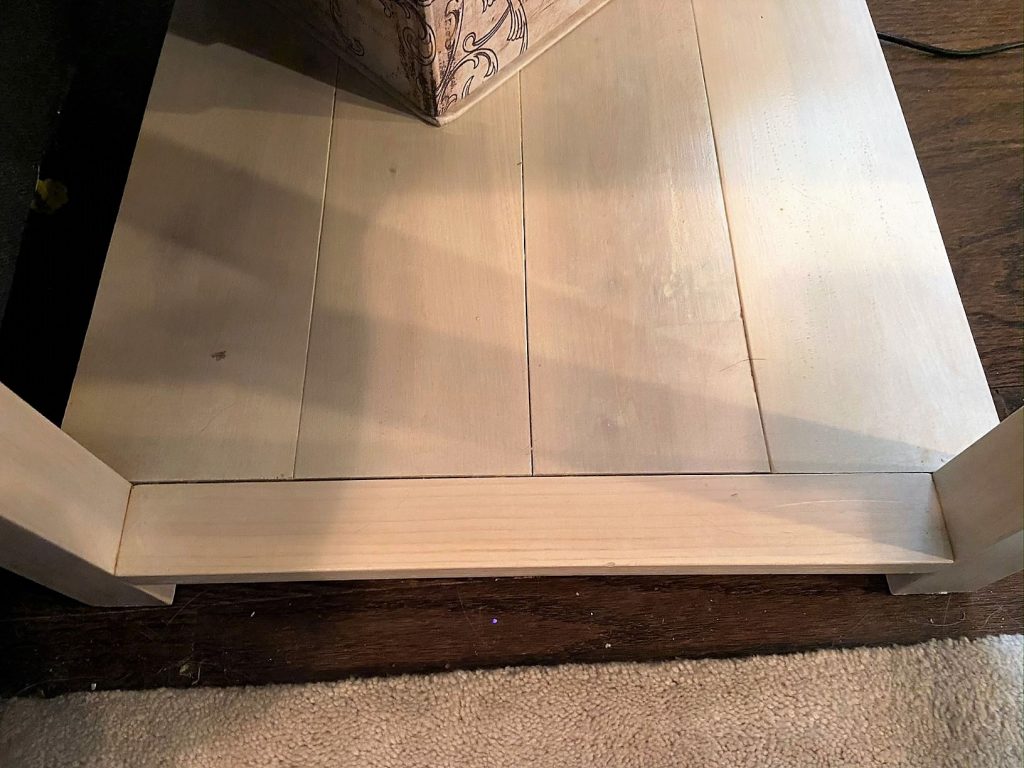
- Put wood glue on the ends of the top and bottom pieces.
- Use a nail gun to nail the top and bottom in place.
- Stain/paint it
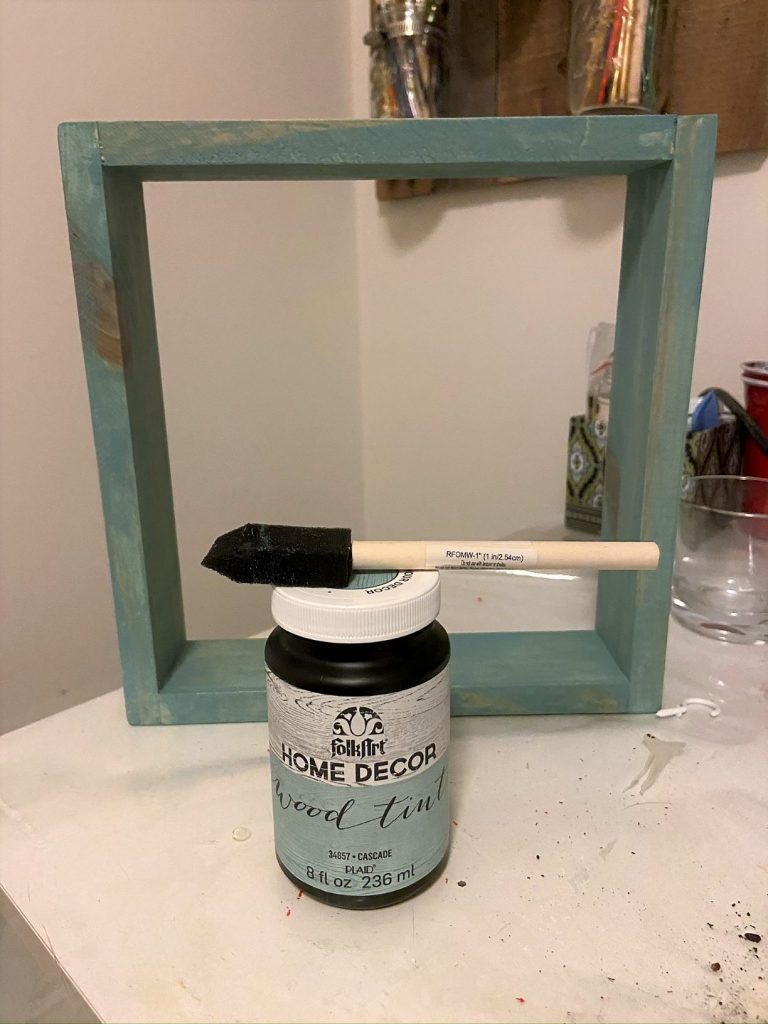
I found this wood tint and plant holder (seen below) at an A.C. Moore going out of business sale. Those items inspired me to make this rustic wood holder. I hadn’t used ‘wood tint’ before this, so figured I’d give it a go. Even after using it, I’m wasn’t quite sure what the difference was between it and stain, because they seemed mostly the same to me. Given that, I did a quick internet search. I found a post from Repurpose and Upcycle that provides an awesome explanation of the two and when to use one over the other. The wood tint seemed to provide good initial coverage based on this first experience. It also dried quickly, which keeps for the quick and easy strategy here.

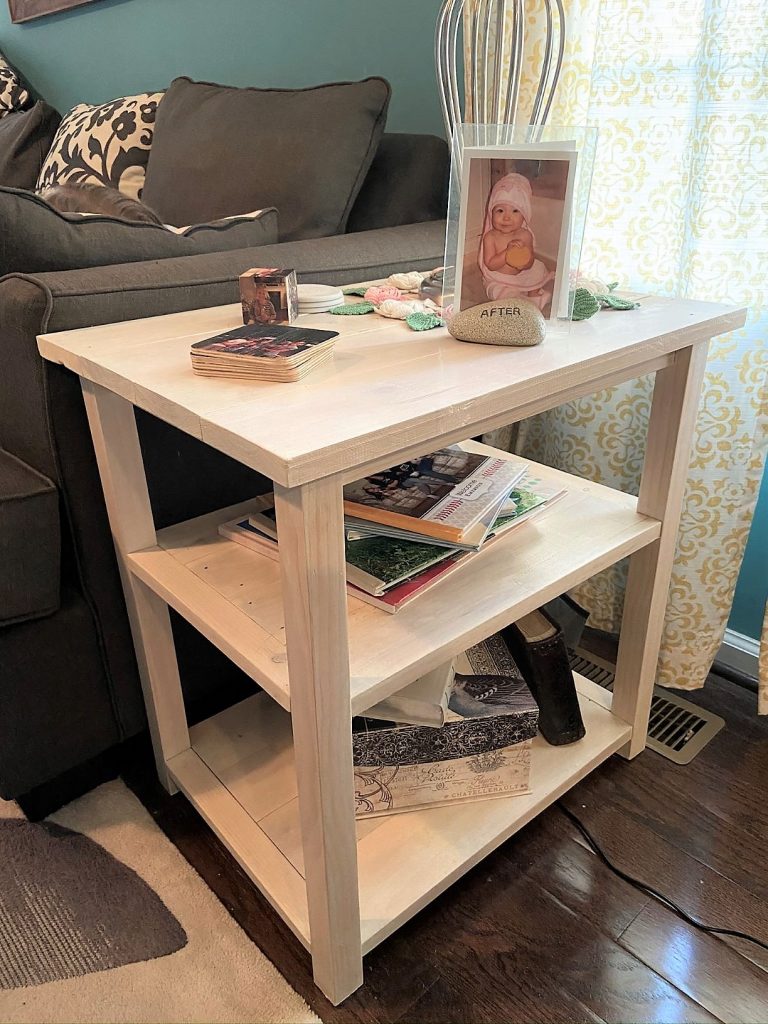
I found these river rocks at Lowe’s as well. Simple is the name of the game. Put the plant in and spoon the rocks in around it. Then, it’s ready to put the hook into the ceiling of the square. It’s best to pre-drill a hole for the hook but it can also just be screwed in without it. The rope that came with the glass globe was too long, so I used some twine I had on hand. I also preferred the look of the twine, so it was a win-win.

Final Succulent Decor
And that’s it! I hope you enjoyed the simplicity of these ideas. Two of them can be found in my daughter’s newly made-over bedroom. To read more, click here…


Don’t forget that plants help with stress reduction, so go ahead and place them in areas where you tend to feel a little more stressed. I guess that’s why I love keeping them in my office.
*This page contains affiliate links. This means if you use one of my links to make a purchase, I will receive a small commission at no additional cost to you. Thank you for supporting Cathartic Crafting!