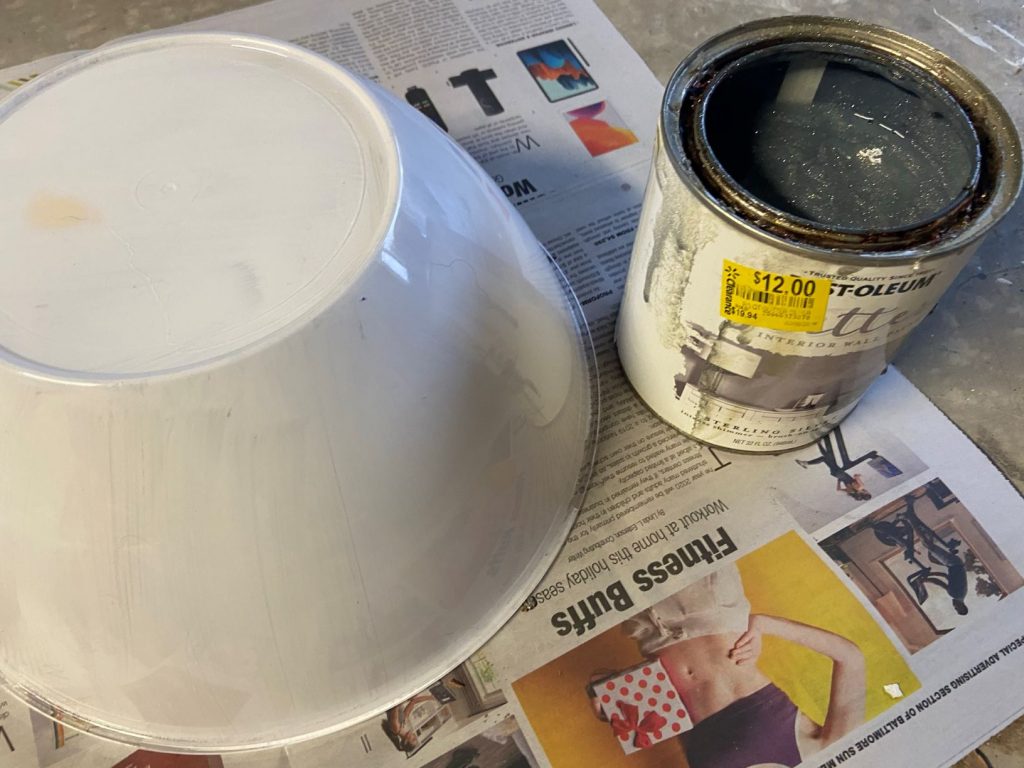
I don’t know what it is, but I love the chance to get my creepy on with Halloween decor. I’m definitely not a ‘blow up’ decor user and prefer to take more of an authentic route. I’d love to have my own mini haunted house for trick or treaters at some point. If this resonants with you, then you’re at the right place. This witch head project was spurred by a broken skeleton figure. I’d already bought a styrofoam head, which I’d planned to use for a witch cauldron I was making. After some thought, I shifted gears and chose to use the head in another way.
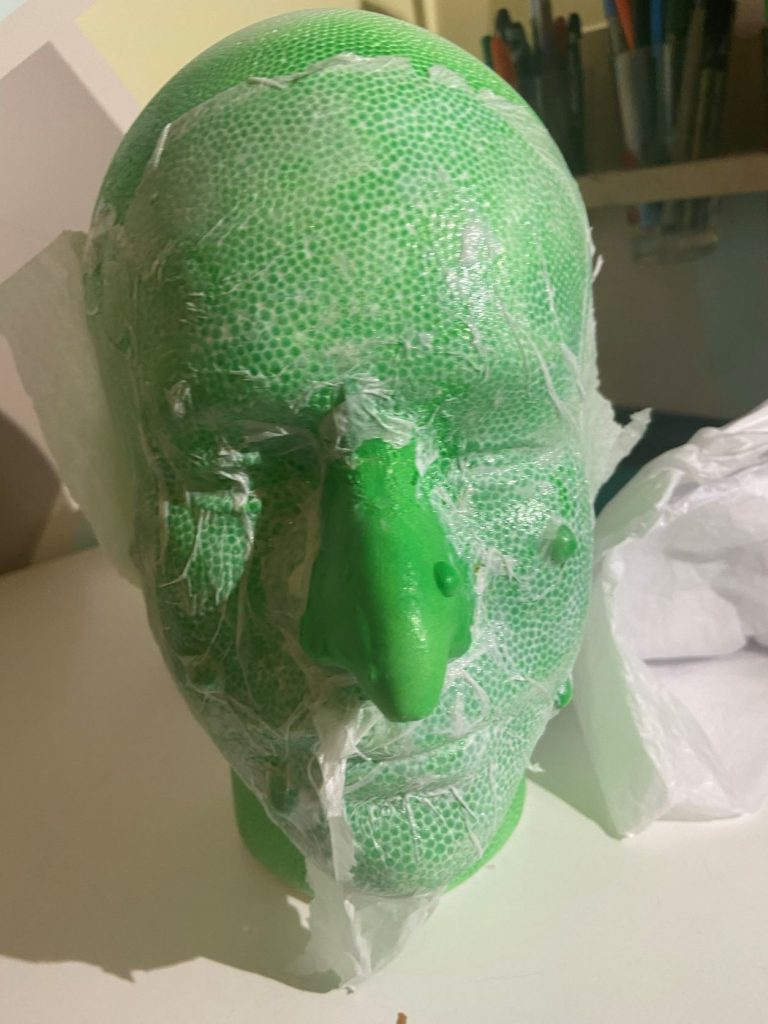
The styrofoam head came from Michaels, which had just one option. I used this clay recipe from The Kitchen Table Classroom for the nose and warts.
I didn’t use glue or anything to adhere the clay to the face. Some of the warts did fall off, so I glued them back on with craft glue.
I used my airbrush to paint the head and realized the styrofoam bumps were a problem. I didn’t like the look of them at all so had to come up with a way to try to hide them.
Quick Fix
After some contemplation, I opted to cover the face with Mod Podge and some tissue paper. My thought was it would help to smooth out the bumpy texture.
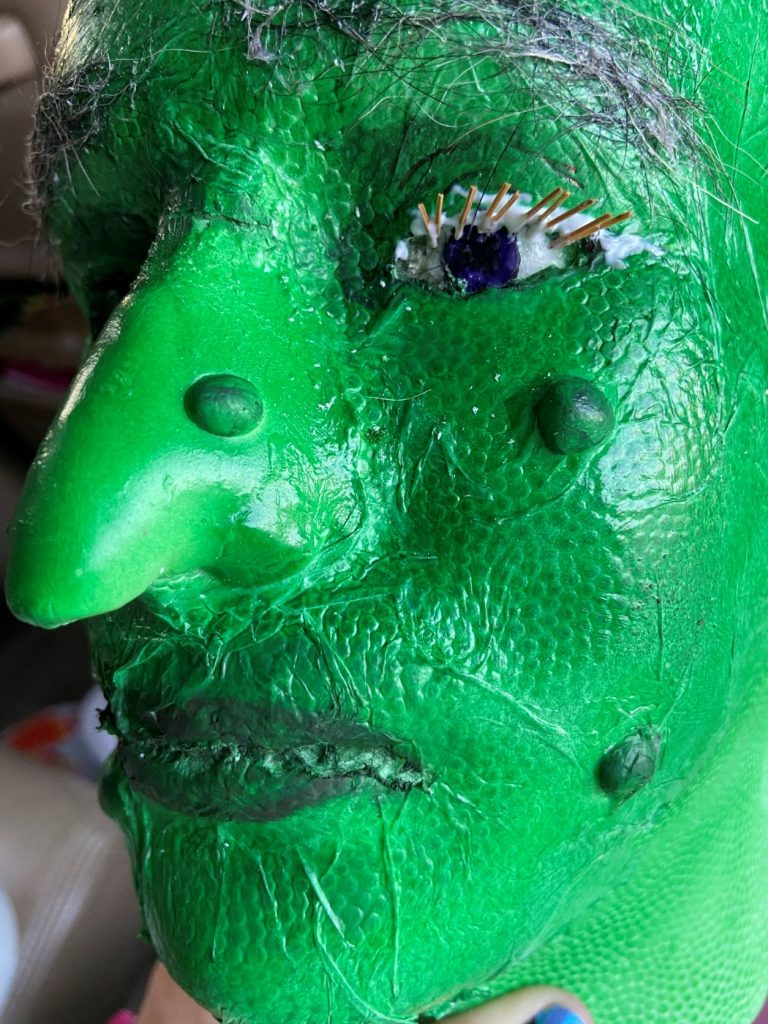
After giving it another coat of paint with the air brush, it looked a bit better. I was keen on the wrinkles it gave the face.
The Face Details
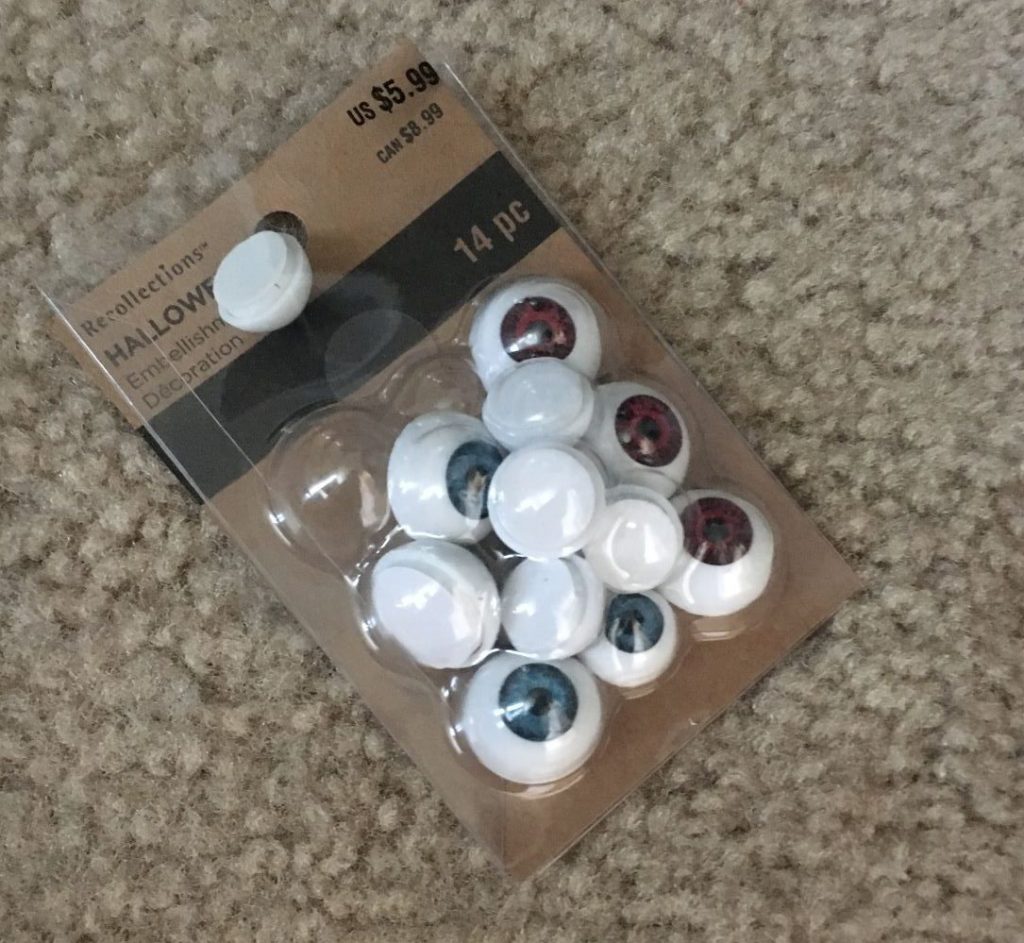
I painted the eyes with acrylic paint and layered over with glue to give it a glassy rounded look. While at a softball game, I found some stick like things I decided to glue on as eyelashes. My dog’s hair served as the eyebrows. It admittedly looked rough, so I used some purple fuzzy material to cover it up.
After the fun of crafting was complete, I drilled a hole for my dowel and glued the dowel in it. The dowel fit right inside the hole of my broken skeleton body.
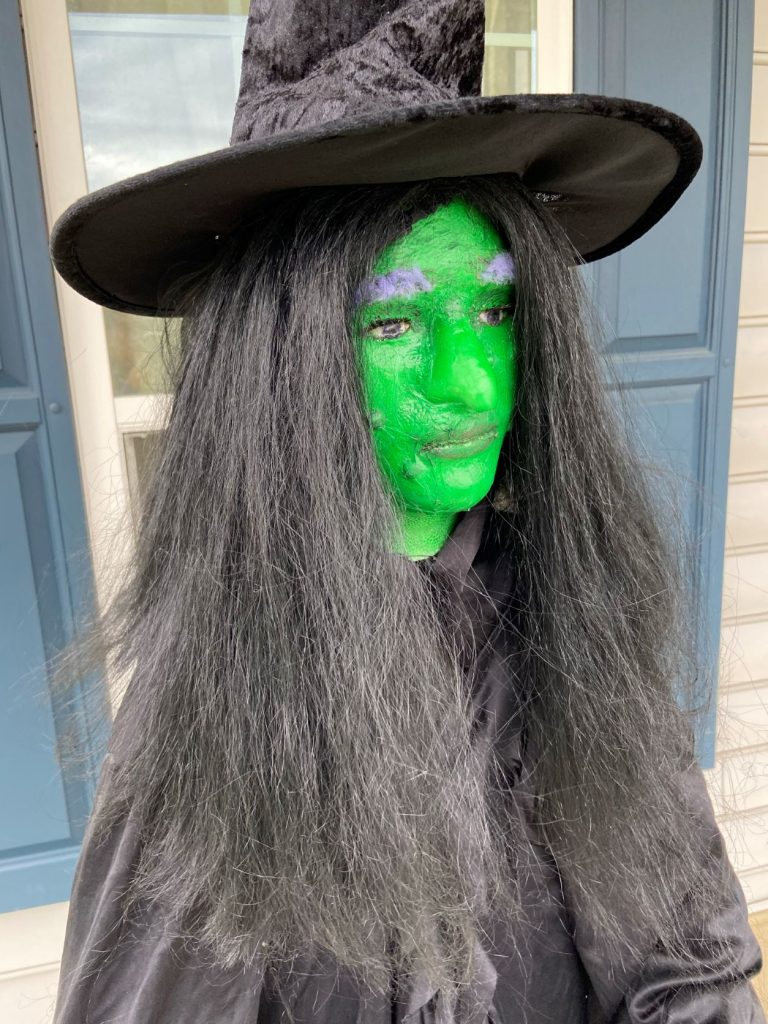
The Final Look
With the simple addition of a black wig and a witch hat, this simple DIY witch decor was complete.
*This page contains affiliate links. This means if you use one of my links to make a purchase, I will receive a small commission at no additional cost to you. Thank you for supporting Cathartic Crafting!
After creating my giant lollipops and tootsie roll string lights in the first Candyland Christmas rendition, I knew I wanted to get moving on some Candyland Christmas additions. My priorities continued to be keeping supply costs low (most items were on hand), fun in creating, and trying to be set apart from the rest of the neighborhood.
While going through bins of old toys to sell, I was inspired by the ball pit balls we hadn’t used in forever. Those balls gave me the rather brilliant idea to make little wrapped “candies”. I’m thinking of the ones you get from some Asian restaurants in the metallic wrapping. It was a great pairing to the “popcorn” I was already planning to do. For some reason, I didn’t take pictures, but the task is super easy. Cut the tissue paper to a good size to fit around your ball, leaving a good 3 inches on each end. I taped the seam over the ball to keep the paper sealed. Then, it’s just a matter of pinching the tissue paper on either side of the ball and twisting the tie around it. It’s perfect for kids of all ages!
Honestly, this craft couldn’t be any simpler, so here we go with the popcorn instructions. Spray the Great Foam onto something you don’t care about having some stuck on foam remnants. Spray the foam into a lopsided shape, you know, like popcorn. I wouldn’t say mine are a great popcorn shape, so if you can do better, then I applaud you. This stuff grows quite a bit so definitely make it undersized to what you think you want it to be after it expands. It’s always a good idea to try one first to see how big it gets.
And here they are after hardening. A scraper will help you get them off cleanly from the surface. I didn’t think about it until after I’d already strung my popcorn up, but it’d be a great idea to turn the popcorn over and spray a bit more Great Foam on the flat rough side for a better shape. I’m pretty tempted to spray mine even while they are currently hung up because I dislike that flat side so much.
DIY Giant Needle
Time to sew! I had to run through ideas in my head on how I could get a string through the popcorn. With our pending move, I had already packed up some of the things I would have considered. After taking a look in my knife and skewer drawer, I was elated to find a lone wooden skewer. I drilled a tiny hole at the end, making it a perfect giant needle. It felt like a huge win! I used some heavy sewing thread to feel confident the string wouldn’t break.
From there, it was just a matter of man powering the skewer through the foam. Just kidding, it’s really quite easy! My pattern was two popcorns, then one candy. I tied the string around one side of the candy. After the assortment was all threaded onto the string, I basically wrapped it around the string of lights. And with that, this craft for Candyland Christmas is finished.
Gobstoppers
I was beyond tickled when the Gobstopper idea hit me. It was such a SIMPLE idea. I already had clear cellophane on hand. I cut a strip of it to fit the circumference of the balls. Then with the balls in the middle of the cellophane strip, I taped the seam together. I held one end together to use the clear packing tape to ‘seal’ it similarly to what an actual gobstopper strip looks like. Then I did the same to the other side before cutting it off. Now, if you want to go the extra mile, you could use a Cricut to create the label to stick on. I, unfortunately, don’t currently have the means, otherwise, I probably would.
Mints
Here’s another “what do I have sitting around” idea. Foil pie pans had been sitting in wait in my cabinet for quite some time. I decided to use those to make a mint. I cut the perimeter about 6 times to the crease. This was to allow the border to fold into more of a 90-degree angle. Surprise surprise, craft glue doesn’t work so well on foil, so I taped the overlapping seam together.
Then, it was just a matter of folding the selected tissue paper into the empty center. Cutting the clear cellophane to the right size and tying off the ends with the twist ties. Literally, a two minute effort you can hand off to your kiddos to get them involved. Cheap and easy is the continued name of the game with this Candyland Christmas theme.
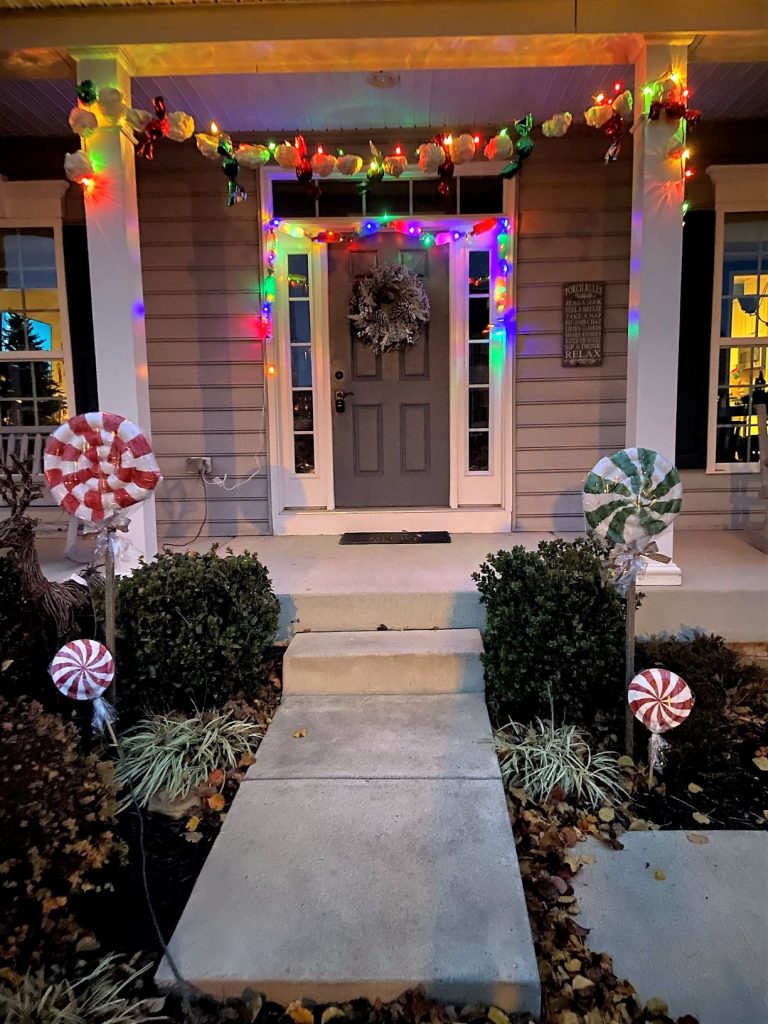
Presenting: Candyland Christmas!!!
Here is it all together!
If I weren’t in the process of selling a house, I would definitely continue to up the ante. It looks much to bear for my tastes. I unfortunately just don’t have the time to be able to continue on my Candyland Christmas journey, but there’s always next year…
*This page contains affiliate links. This means if you use one of my links to make a purchase, I will receive a small commission at no additional cost to you. Thank you for supporting Cathartic Crafting!
As I started to think about Christmas and the same old outdoor decorations I’ve been using for years, I had the strong desire to mix things up. I had a plastic playhouse that my daughters had outgrown and needed to be repurposed or handing to someone else. That fact pushed me to think about turning it into a gingerbread house. Thinking of a gingerbread house made me think of candy and candy made me think of a Candyland Christmas theme. (Do you know the “If you Give a Moose a Muffin” books? I feel like that is how my brain works all the time and I think it drives my husband crazy.) From there, my girls and I were super excited to start with some mommy-daughter Christmas crafting!
Lollipops for Candyland Christmas
Materials:
Pool Noodle
Hot Glue Gun and Glue sticks
Flour
Water
Newspaper
Spray Paint
Paint
Paint Brush
Clear
Ribbon and/or Twist Ties
Dowel
Drill
We are currently preparing to move 45 minutes south in a month, so it was perfect timing to use these old pool noodles for a new project. It’s so much better than throwing them out!
To start, grab your warmed up glue gun and start gluing the side of the end of the noodle and bending a small portion. As you continue to add glue to the outside edge, start to wrap the extra noodle length around the middle bend. I decided to use two noodles for each lollipop, but it could be fine with one. With the pandemic pushing people to get pools, the clearance pool noodle supply was nonexistent.
Creating the Lollipop Covering
If your pool noodles look good, you could bypass this step, given mine were different colors, I wanted to be able to spray paint them. I mixed enough flour and water together to get a cream-based soup consistency. Next, I dipped my newspaper into the mixture. Then I wiped off the excess before smoothing it onto the pool noodles. This dries much quicker in warm temperatures, so I used a small heater to dry them quickly.
Then I set about with spray painting the dried paper Mache coating with a Rustoleum white I had on hand.
I hand-painted red and white stripes with cheap acrylic paint. From there, I use a 1/2″ drill bit to drill a hole for the stick. I happened to have some wood posts from tree plantings in the backyard needing to be repurposed. Instead of painting white, I left them as is to save the spray paint. All there was left to do was to tie on the Cello wrapping paper I got from the Dollar Tree. It was a little too narrow for the diameter of my lollipop, so I used clear packing tape to tape the side flaps down.
I used Christmas ribbon I had leftover from the year before. Such an easy and cheap project! I mean seriously, how cute are these?!
GumDrops for Candyland Christmas
Materials:
Plastic Bowls
Acrylic Paint
Glitter glue or glitter paint
String lights
This was the best I could find at the Dollar Tree in trying to keep things cheap.
Easy Steps:
Paint the inside of each bowl. I got six bowls so did the six different colors of gumdrops; red, green, orange, white, yellow, and purple.
2. Coat the outside in the glitter of choice. I used some Rust-oleum Glitter Paint I had on hand thanks to Walmart clearance and a previous bookcase refinish.
3. Place over the string lights.
4. Light it up!
Fruit Chews
Materials
Plastic bottles
Tissue Paper
Cello wrap
Twist Ties
Light string
Razor
Tape
Steps:
1. Cut the top and bottom off with the razor.
2. Thread the string lights through the bottle.
3. Cut rectangles of the cello wrap and tissue paper.
4. Wrap the tissue and cello around the bottle. Then tape it together.
5. Twist both ends and tie with the twist tie.
6. Repeat steps 1-5 until you cover the whole string.
Mental Health Benefits
With all this trash repurposing, it’s fitting to point out that being green conscience can also improve mental health. According to Dr. Brian Wind, a clinical psychologist,
leading a sustainable lifestyle can improve mindfulness and aid in easing depression or anxiety.
So while you are repurposing that trash and getting into your crafting zone, you’re really amping up the mental health benefit while meeting your Christmas décor needs. Enjoy!
This project was inspired by a family visit to the Renaissance Festival, a wonderful place of creativity and imagination. My oldest was enthralled with so many of the crafts there and wanted them all. This was much the same feeling I had as a child going to the Renaissance. As a mother, I would have loved to buy her all the things, but my pocketbook definitely didn’t allow for that desire. For many of the crafted items, I put a pin in the idea in my mental board to create later. One of those wares was the leather-bound books with the intricate faces deftly shaped into them. They seemed like the perfect at-home project. And thus, this spooky Halloween Book Cover craft was born into being!
Spooky Halloween Book Cover Materials & Tools
Book
Leather-like Material
Hot Glue
Paint
Eyeballs
Scissors
Xacto knife
Tissue Paper (Optional)
Mod Podge (Optional)
For my first two books, I went ahead with using some old books I had but didn’t care much about. For the next two, I took a trip to Goodwill and happened to come across two books with topics that were a perfecting pairing with Halloween; bugs, and strange stories. I was pretty tickled by the finds!
Easy Crafting Steps for the Eyeball Look
Cut the material to size. With the book open, you want it to be about an inch and a half bigger on all sides. You can definitely make it a little bigger if you’re worried about it being too small.
2. Use the razor to cut small slits for the eyeballs. For my first attempt, I went with one eye on the binding of the book.
Being careful not to burn yourself, hot glue the outside of the material to the surface of the eyeball to give it eyelids. I ended up using a large tongue depressor to keep from burning myself.
5. Glue the rest of the cover to the outside of the book. As it cools, squish the material together to create ripples.
6. Trim the outside edges and notch the corners so when they are folded in, you get a clean diagonal seam.
7. Leave as is or add whatever shading or darkening you prefer to age the material.
I was not quite happy with the end result, so I decided to add a little brown shading.
8. Set it up to show off.
Spooky Bug Halloween Book Cover
Shading
HOT GLUE!
Much of this cover consisted of piling on the hot glue. I honestly don’t know what I would do without my hot glue guns and stock of sticks. Hot glue is truly versatile when it comes to crafting. My first attempt was to create the centipede on the underside of the leather. It didn’t work so well, so I ended up adding it to the top of the leather. And then I added more…. and then a little more to each bug. Let’s just say I went through a lot of sticks.
Cheap acrylic paint served me well to paint the bugs and do the shading. It stuck to the hot glue pretty well with several coats.
A sharpie was an easy and permanent way to add a few details.
Complete Spooky Bug Halloween Book Cover
Tissue Paper Flare
To create a wrinkled appearance, follow the easy steps:
Apply Mod Podge to the surface.
Then press small squares of tissue paper into the glue.
Get a little extra Mod Podge onto a paintbrush before pushing into the tissue paper.
Add additional layers of Mod Podge based on your desired look.
e
Happy Halloween Crafting!!
Are you interested in getting alerts and information on all things coming out of Cathartic Crafting?! Then go ahead and submit your info below:


 We are currently preparing to move 45 minutes south in a month, so it was perfect timing to use these old pool noodles for a new project. It’s so much better than throwing them out!