While trying to decide on the direction for our new living room that wouldn’t break the bank, I was inspired by pins on Ikea furniture hacks. One, in particular, struck my fancy because of its simplicity and look. I ended up finding a discounted Hemnes white coffee table which was the start of this living room table set project. If you’re looking for a simple project that will impress your friends, then follow along with me.

Personalizing Ikea
Supplies for Ikea top:
- 3- 1x6x8
- 1- 1x3x6
- 1″ Wood Screws
Supplies for Side Table:
- 1- 1x2x6
- 1- 2x2x8
- 3- 1x6x8
- Stain
- 1 1/2″ Wood Screws
- Kreg jig & screws
- Wood Glue
I assume you know how wood measurements work, but just in case, here’s a nice breakdown at Arch Toolbox. Wouldn’t it be so much easier if the name matched the actual size?! I was given some poplar boards from our builder that were perfect for the coffee table and as the main part of a coordinating side table. I used pine for the store-bought wood for it’s affordability. In general, pine is a softer wood, so choosing this option could mean finding nicks and scraps in the wood at some point. Poplar is a harder wood that will take more of a beating.
Getting started on this Living Room Table Set
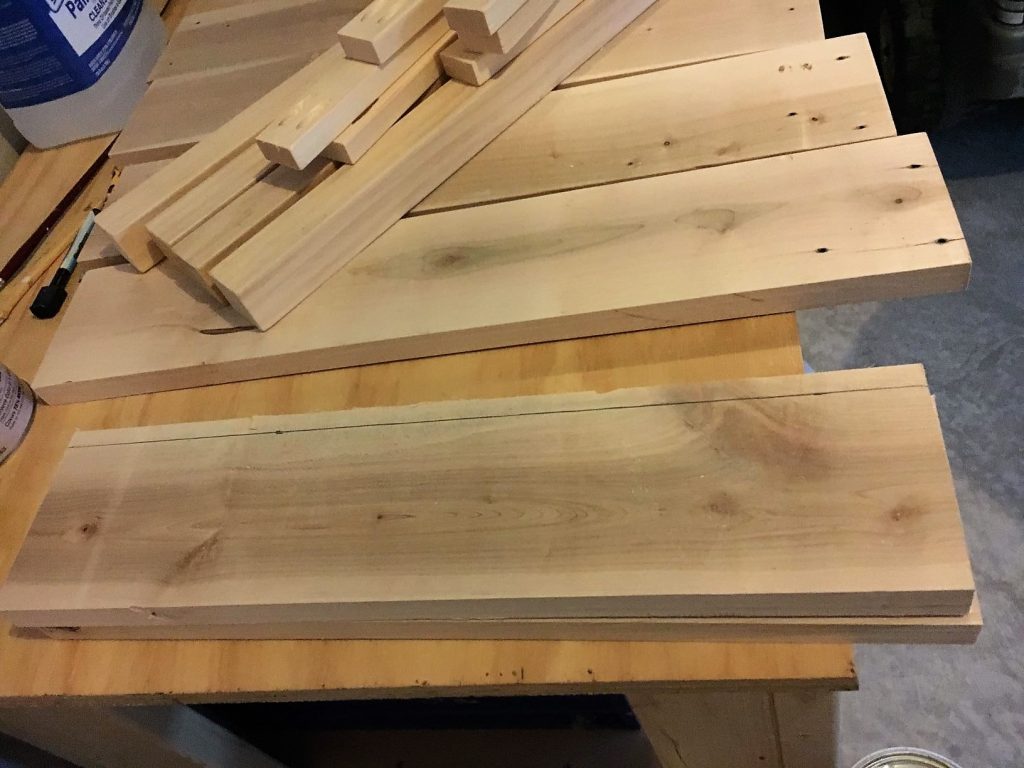
This portion of the project involved ripping the boards into 6 equal pieces at 4 3/4″ x 41 1/4″. You have two options on how to connect them side by side; doweling and pocket holes. Pocket holes are easier to do but can be tricky to ensure the boards stay completely flush. Doweling needs to be pretty precise, so it can be tedious and slightly difficult to do by yourself. I chose to go with the pocket holes route for both tables here. I also decided to sand down the corners of each board to ensure there was a distinction between the boards after they were secured together.

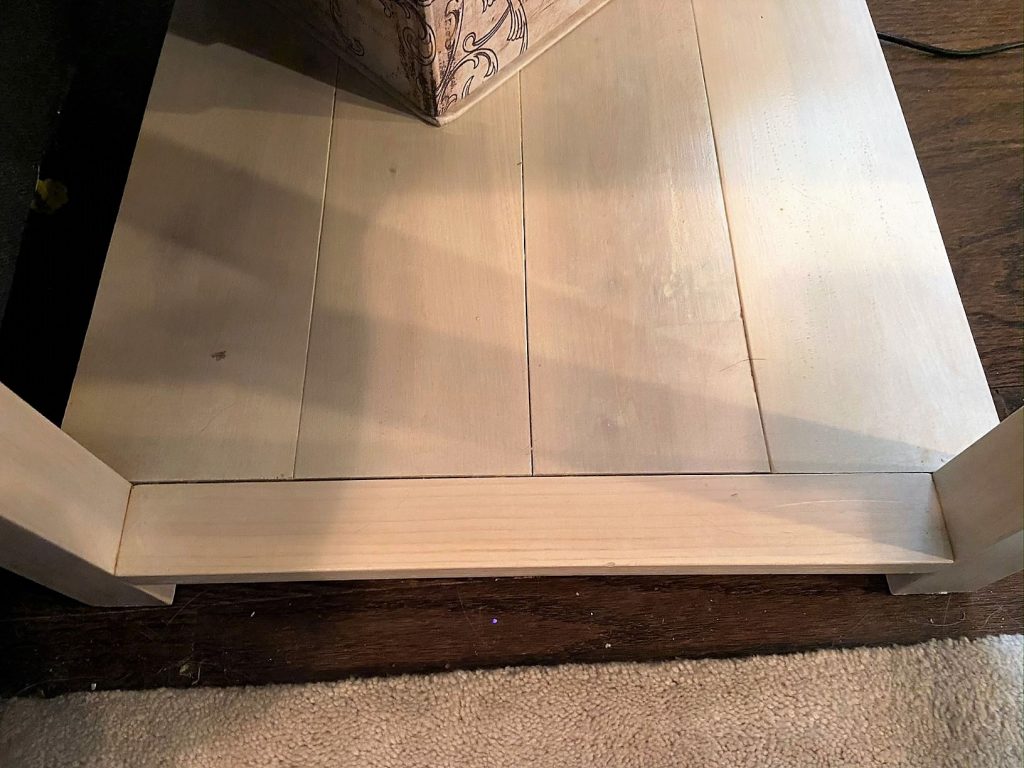
After the long middle boards were screwed together, I cut the end boards to size at 2 3/8″ and 29 1/4″. I used the Kreg jig to create the pocket holes to attach the ends. With the top together, I stained it and the sides with a white stain followed by three coats of clear polyacrylic. I wanted to keep the top white to match the table and go with the white, gray, yellow, and teal color scheme of the room.

To finish this easy table upgrade, I just needed to screw the wood top to the coffee table. This was simply done by turning the coffee table over to expose the bottom. It was best to clamp the top to the table to avoid a gap between the boards. I chose not to use glue and stick with just the screws. To make sure the wood wouldn’t splinter with the wood screws, I pre-drilled the holes.


Side Table
Cuts
- 8 – 1″ x 4″ x 19″
- 4 – 1″ x 4 1/2″ x 24″
- 6 – 1″ x 2″ x 13 1/4″
- 2 – 1″ x 2″ x 19″
- 4 – 2″ x 2″ x 24″
The width of the legs and shelves is 14 3/4″ and the height of the side table is 24 3/4″.
The side table consisted of cutting the wood to size and using the kreg jig. I didn’t care to have to do more cuts than necessary, so my schematic limited the need for notched cuts by utilizing the 1×2’s.
The poplar boards I used also needed to be ripped to size for the two shelves. I used a circular saw with a guide to cut the four boards, which works well enough. I would actually much rather have a table saw to use that would ensure an absolutely straight cut. My woodworking projects would be so much easier with a few extra tools, that’s for sure, but it just goes to show you don’t need all the special tools to complete a project. After cutting all the boards, sanding them smooth and making the pocket holes with the kreg jig was up next.

Almost finished
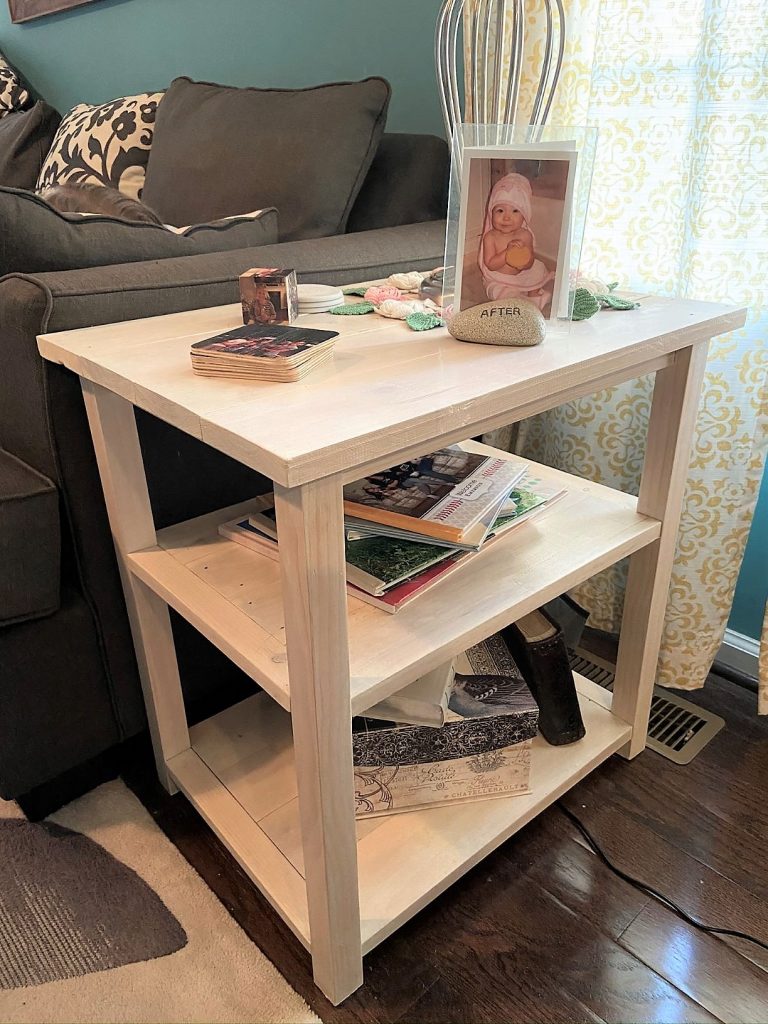
Pocket holes galore. I used pocket holes to connect all the pieces together as you can see below, making sure to screw the shelf into all four legs and the 1×2’s. With all the hard work done, it was finally time to stain it. Rust-o-leum Antique White stain applied with a white rag gave it the finish I was trying to achieve. It needed three coats of stain to give it a consistent white. You generally shouldn’t need to do that many coats, but I felt it was warranted with this one. The most important point when staining is to go with the grain and not to allow it to pool in any one spot.


And that’s all that is involved with creating a simple side table and giving an Ikea table an upgrade. If you’re looking for another easy project, check out Revamp a Composite Bookcase. It uses 1×2 pine boards just like some of this one.

Completed Living Room Table Set Project


*This page contains affiliate links. This means if you use one of my links to make a purchase, I will receive a small commission at no additional cost to you. Thank you for supporting Cathartic Crafting!


Thank you for taking the time to write and post this material.
Best regards,
Boswell Zacho
Hey would you mind stating which blog platform you’re working with? I’m planning to start my own blog soon but I’m having a tough time deciding between BlogEngine/Wordpress/B2evolution and Drupal. The reason I ask is because your design and style seems different then most blogs and I’m looking for something unique. P.S My apologies for getting off-topic but I had to ask!
It’s wordpress! Lots of formats to choose from.