A week before our virtual learning school year started, my friend texted me to ask if I could build a desk she had ordered but had never arrived. I took a look at the pictures and the measurements she sent and agreed to building it. From my perspective, it was going to be a pretty simple project. I had already been planning to start making my niece a nightstand for her upcoming birthday, so drawing out a desk plan and putting it together could be done at the same time. With the plan in my head, away I went to Lowe’s and Home Depot.

Supplies
- 1- 1″ x 2′ x 4′ plywood piece
- 2 – 1″ x 2″ x 6′ pine
- 3 – 1″ x 3″ x 6′ pine
- 1 – 1″ x 10″ x 4′ whitewood board
- Pocket screws
- Dowels
- Veneer Edging
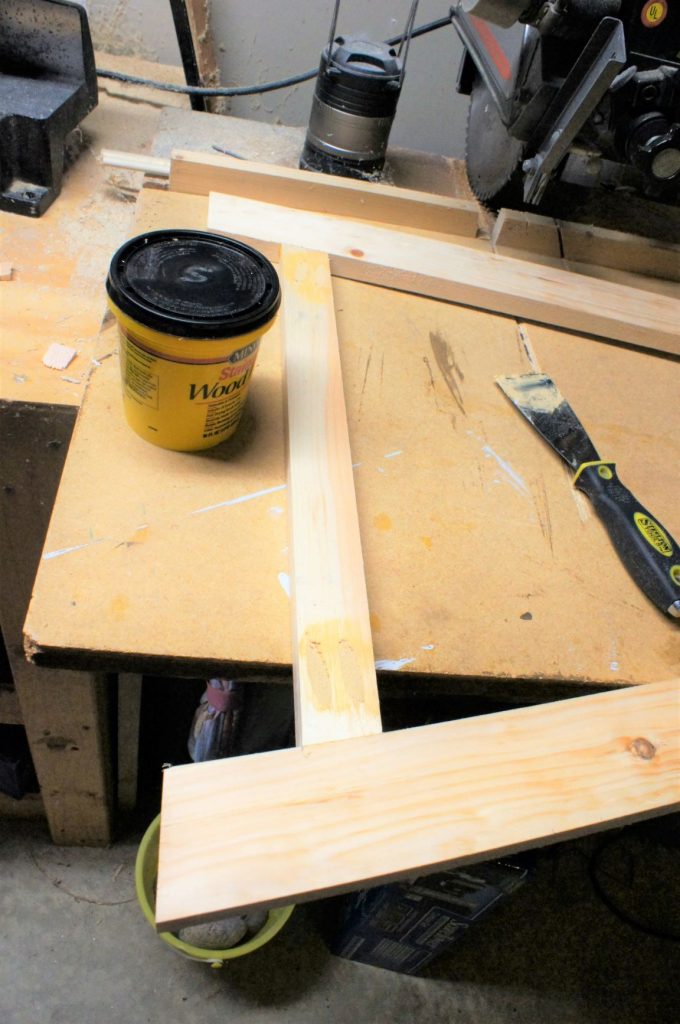
- Wood Filler
- Wood Glue
- Sandpaper
- Stain or paint and/or wax
- Basket
Measurements and Cuts for this Desk Plan
The desk is 42″L x 24″D X 30″H.
- 1 – 1″ x 42″ x 24″
- 6 – 1″ x 3″ x 29 1/2″
- 3 – 1″ x 2″ x 17 3/8″
- 1 – 1″ x 2″ x 26 1/4″
- 3 – 1″ x 2″ x 8 1/4
- 2 – 1″ x 2″ x 11″
- 4 – 1″ x 2″ x 9 1/2″
- 2 – 1″ x 2″ x 8″
- 1 – 1″ x 13″ x 9 1/2″
- 1 – 1″ x 19″ x 9 1/2″


Cutting a Straight Edge
If you’re like me, you don’t have the fanciest of tools…yet. I would really like to have a table saw but am waiting for garage space and the affordable option to cross my path. I am not good at cutting completely straight without a guide. This inevitably means using older methods (aka pre-table saw invention methods) of getting to the desired end result of a straight cut. There’s no getting around that being a tough task.

So, this “older method” includes using a straight edge and a circular saw with a rolling square guide on it. Measure out where the cut needs to be made and use a square to draw it across the full length of the board. Next, measure the distance needed from the edge of the board to the straight edge, so the blade will cut on the line. To keep the straight edge in place, you will use short clamps to clamp the straight edge to the board.
If all you’ve got is a circular saw and board, you can accomplish this same setup.


Cutting the legs

I went with a 10 degree angled cut for the legs (and subsequent cross beams). To do this, use a miter saw set to the appropriate degree. Both ends need to be cut at this degree for the desk top to be level with the floor. The length of the leg is 29 1/2″ on one side.


I used a flat board to check the length of the legs and to figure out how wide the top connecting piece would need to be. The bottom beam was cut to 17 3/8″. I decided on this length to be at 2 1/2″ high from the floor. This would be the same for all three of the bottom supports.
List of pieces cut at 10-degree angle
- 6 – 1″ x 3″ x 29 1/2″
- 3 – 1″ x 2″ x 17 3/8″
- 3 – 1″ x 2″ x 8 1/4″
- 2 – 1″ x 2″ x 11″
Time for Pocket Holes
Pocket holes are an easy way to attach boards together, so you can’t see the hardware from the outside. It’s faster and easier than doweling. Check out some of my other projects highlighting the Kreg jig and pocket holes; Composite Bookcase, Living Room Table set, and Shoe Box.

I put two holes in all of the leg and shelf pieces, including the 1″ x 2″ pieces. The hole placement was wider than the 1″ x 2″, which meant having to reposition after the first hole.
Putting the Desk Plan Together
I opted to clamp the legs to a sawhorse to keep it in place. There are tools that will hold corners together securely, but again, I don’t have those. The clamps did the job well enough while I screwed in the pocket screws. FYI, pocket screws are different than regular wood screws, so you do need to buy those specifically. As with any wood project, it’s also best to glue before you screw.


Finishing Touches
Here’s a little trick for sanding that I learned from my parents. Wrap the sandpaper around a scrap piece of wood to make it easier to sand. I much prefer it to holding the sandpaper and to paying for the more expensive sanding blocks. Using an electric hand sander is also an easier option.


I didn’t want the holes at the bottom to show, so I filled them in with wood filler. This particular wood filler dries pretty quickly, which is excellent for wanting to get a project completed quickly. Then it just needed to be sanded smooth.
Desk Plan: Putting it Together
I didn’t take photos of the assembly, because I was also trying to help with a bakery and lemonade stand sale that was going on at the same time. Life is never simple with three daughters in the house. To explain what I did; I attached the cross beams for the shelves to all legs prior to attaching the top. The shelves can be put on before or after the desktop is attached, just know that it’s hard to get to the pocket holes if you attach the top-shelf before the top. The base was completely together, so it was easy to just put the top on and attach it. For added security, I also drilled dowel holes in a few spots. I don’t think it’s absolutely necessary, but I felt more comfortable with it. All that was left was to put the glue on the top of the legs and secure the top with the pocket screws.
From there, it was time to put on the veneer edging to give the edges a finished look. This is necessary when using any plywood, unless you prefer the raw edge. This veneer edging is really simple to use. Cut it to size, iron it on, and sand it flush. That’s it! One tip; give it time to cool and set before sanding it, so you don’t inadvertently loosen the hold.


Finished Raw Wood Desk

I painted it white and applied dark wax to the edges and top with a paintbrush to give it a rustic or chabby chic look. It’s really up to your personal style what you do with it.
This Desk Plan is Ready for Virtual School


If you’d like the download of instructions, click the download button:
Check out some other projects:
- Crafty Candy Container for Any Occasion
- Must Make DIY Mini Wood Crates for Bikini Boxes
- The Ultimate Cake Wars Birthday Party for Your Itty Bitty Baker
- Furniture Refinishing to Fit Your Unique Style
- Ultimate Carnival Theme Party Ideas for Fun Lovers

