Valentine’s Day doesn’t have to only be about a special dinner and cards for classmates. Carry the heart shaped fun throughout the day with simple activities your kids will enjoy.
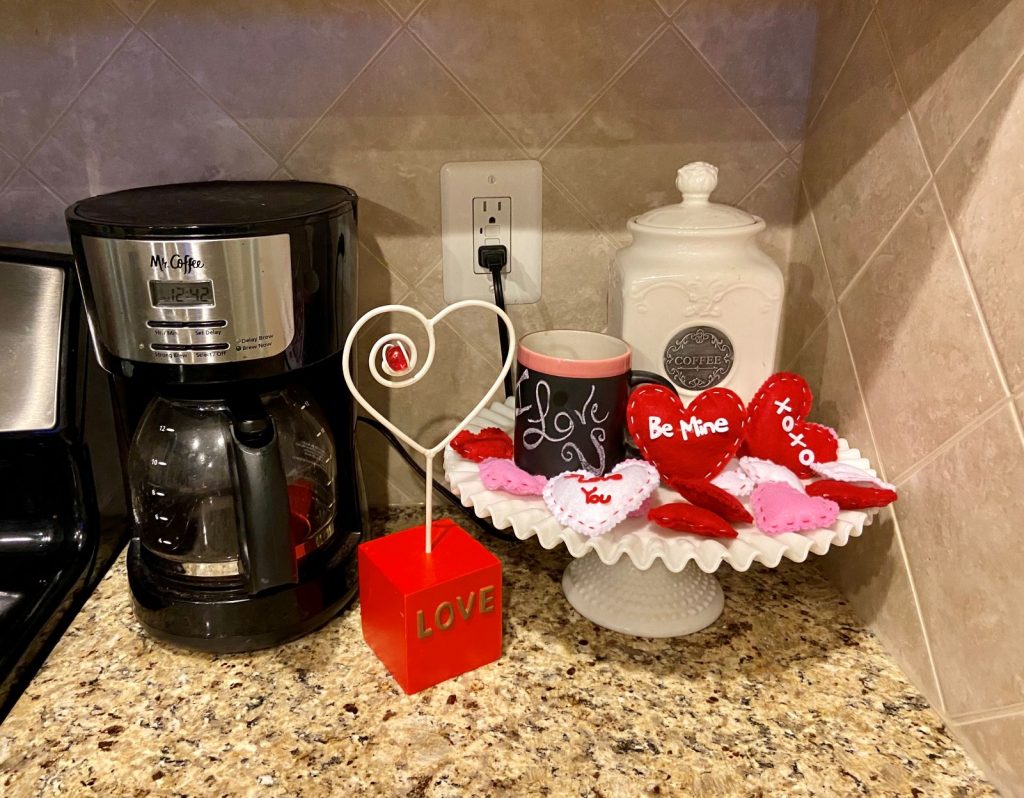
I love you coffee
Nails!
My 9-year old’s goal this year is to have fresh nail designs each week. We went with a simple achievable design this week.

Hair!
I’ve had a life-long love of braiding hair, so I feel blessed to have girls with gloriously long thick hair. Below are three ways to incorporate Valentine’s hearts into their daily do’s.


Breakfast!
Heart-shaped Chocolate Chip Pancakes

Lunch
Valentine’s Heart Pepperoni Pizza


Heart-Shaped Sandwich
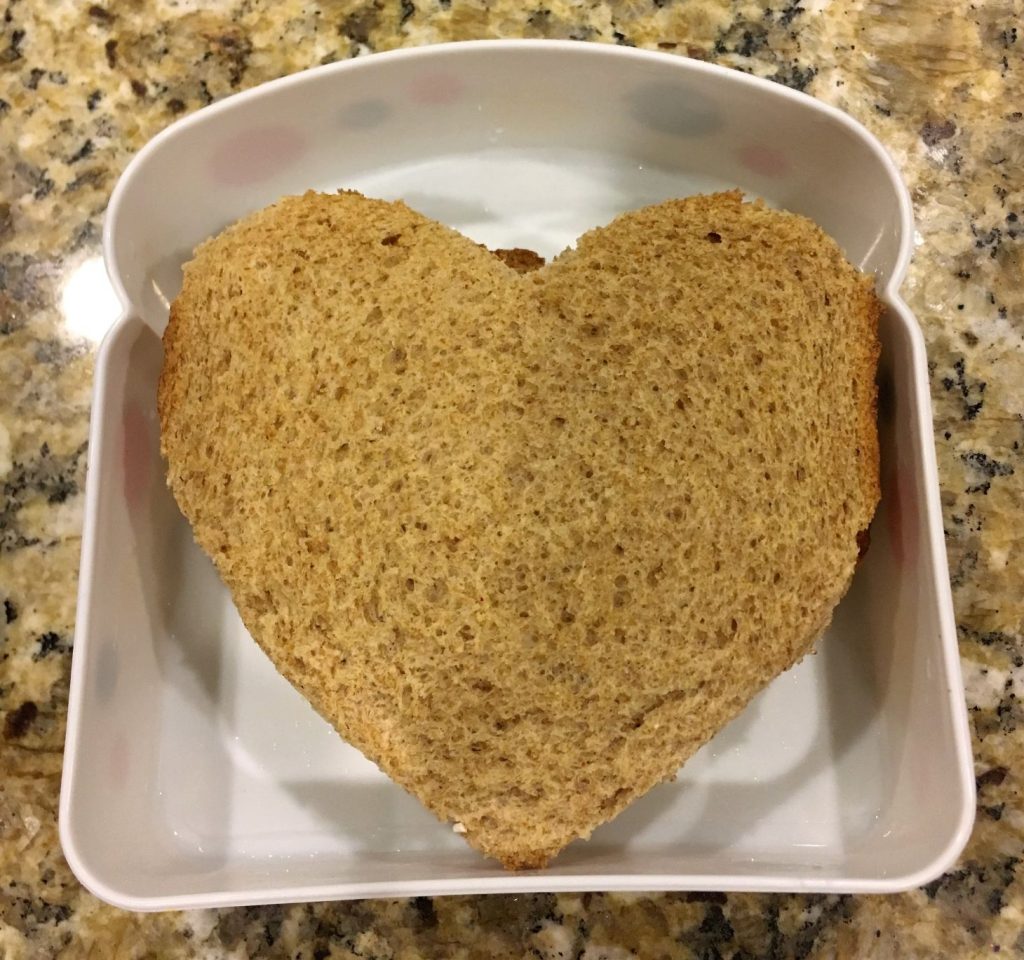
It doesn’t get much easier than cutting a sandwich with a big heart cookie cutter.
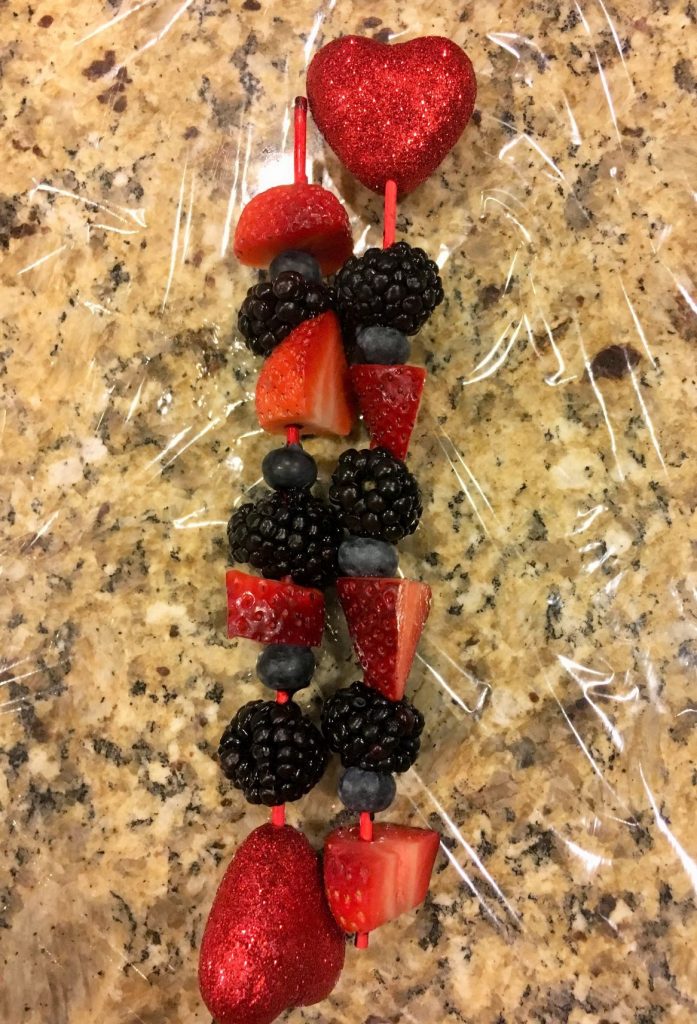
Fruit Kabobs with Heart sticks from the Dollar Tree
Dinner

Dessert
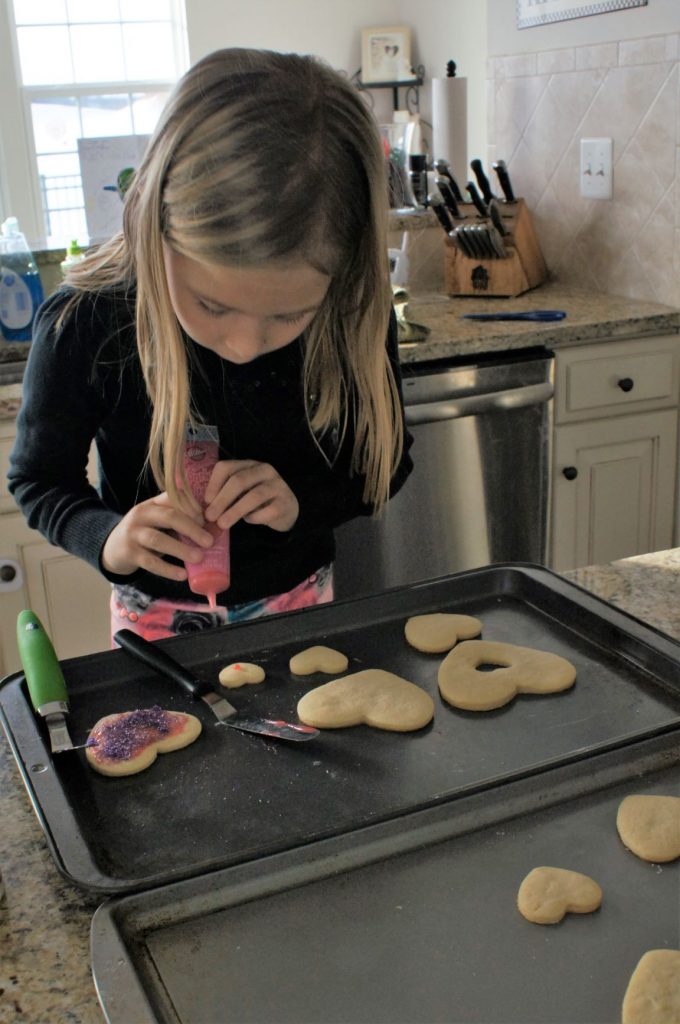
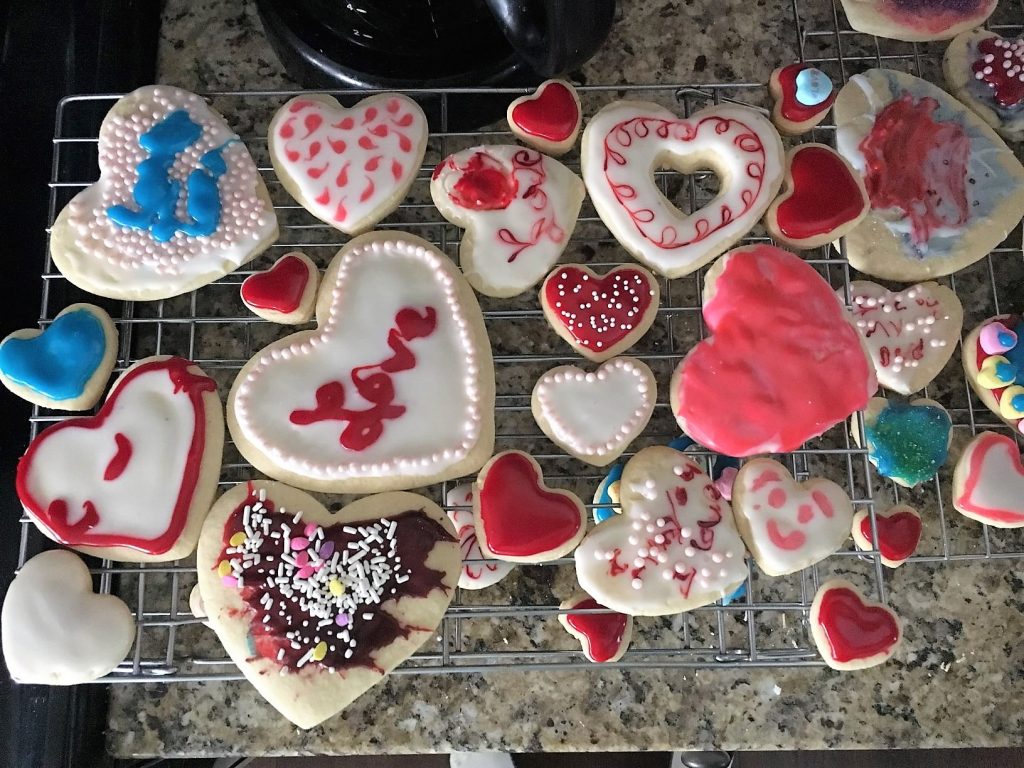
Sugar cookies
Sugar cookies are a go to recipe for our family to use the holiday specific cookie cutters we have stored away with the holiday decorations. A few years ago, I was excited to find a heart cookie cutter kit with 5 different sizes of hearts. I keep them available in the kitchen all year long for whenever I want to see some extra food love.


Strawberry Truffle Kiss Cookies

Check out this delicious cookies recipe from Inside Bru Crew Life. It was a hit for my family
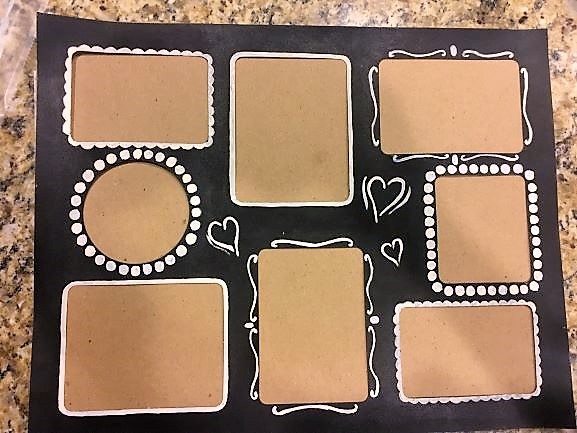
Crafts
Valentine’s Cardboard Candy Box
To say it simply, I’m a huge lover of cardboard. I try to find any way to use it. Way back when I used to work direct care with teenage boys, I showed them how to make a candy heart box with cardboard, hot glue, and scrapbook paper. We additionally made homemade candies to put into wrappers, just like you’d get in the store. Some of them gave their homemade creations to girlfriends. It was a great bonding experience to craft together and expand their thoughts on how they can be creative.


To make your own, cut two hearts in the same size small enough that one 12×12 piece of scrapbook paper can be used to cover the cardboard. Then cut two 1.5 inch wide strips of the same length for the top that will go along flush with the outside edge. Hot glue them on. Finally, cut two more 1.5 inch wide strips of the same length and glue them just inside of the bottom heart to allow for the top to fit on the outside. Finish it off by gluing the scrapbook paper to the outside.


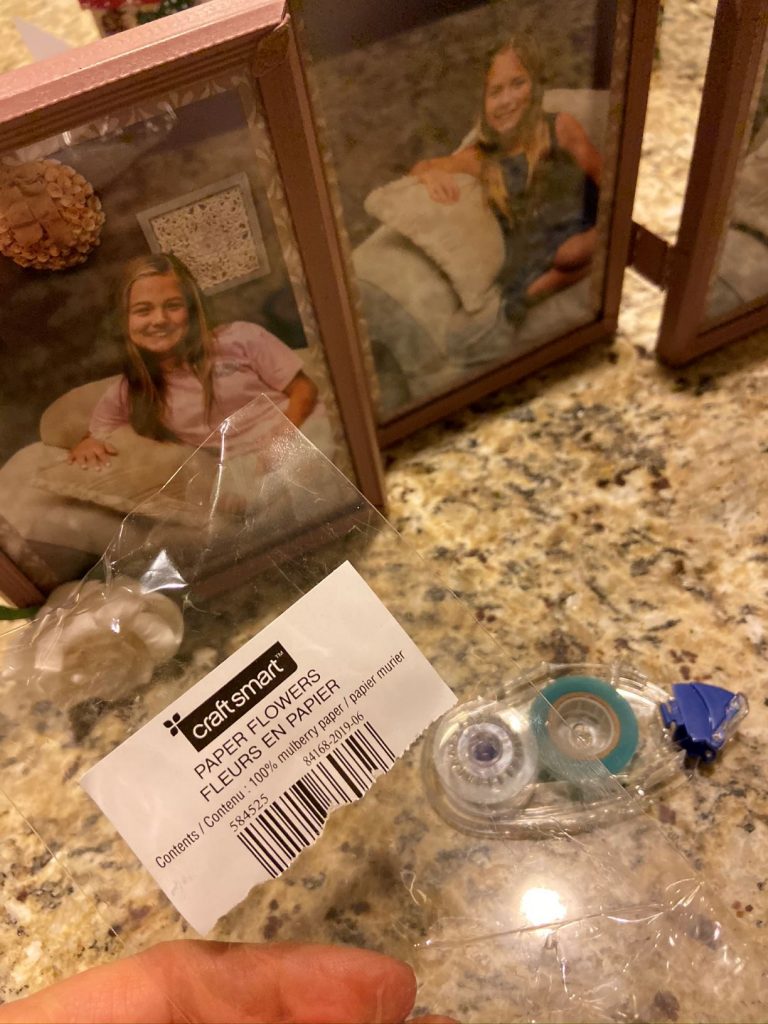
Valentine’s Love Fortunes
If you’re looking for a super simple yet super sweet way to communicate your love, give these felt fortune cookies a try. Anyone could put them together for their loved ones. Materials:
- Chinese food container
- Felt in your desired colors
- Foliage wire
- Paper

Cut as many circles as you see fit in the same size and then cut the thin foliage wire to the width of the circles. Glue the wire onto the middle of the felt circle and you’re just about finished.


Write your message on a thin strip of paper. Then hold the paper in the middle of the circle while you fold the felt in half and pull the ends downward. This year I also tossed them into the girls’ lunches for surprise messages. Other years, I have had the girls write messages to their dad or wrote them myself. Spending 30 minutes this year, can have a lasting effect for years.


Here’s to love being in the air for you this Valentine’s Day! If you’re looking for more crafting ideas checking out my other Craft posts.