Tag: frame

Stunning Picture Frame Upgrade Ideas for Your Home

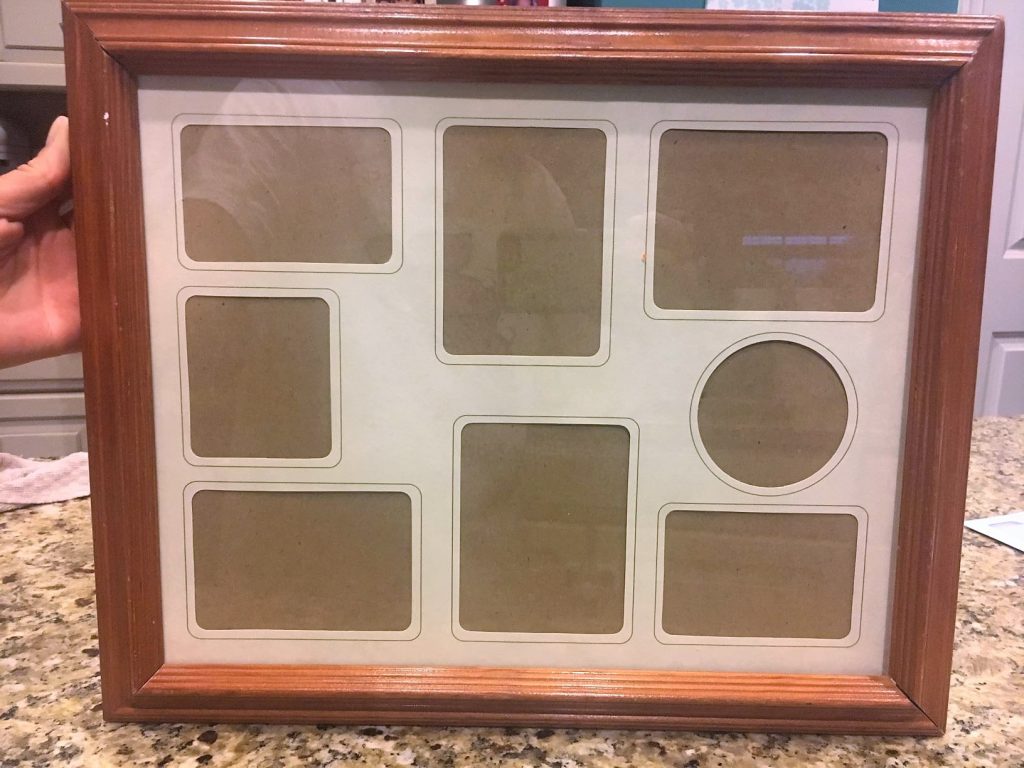
As I was rooting through some of the remaining boxes of stuff from our old house, I came across a few items that inspired me to do a little crafting. I found childhood picture frames in need of a facelift to get with the times and with my current decor. It was a very simple project aside from deciding what I was going to do and it’s definitely a project anyone could handle. I hope my picture frame makeovers inspire you to have a little fun with some of your own frames and you can decide on a direction to take! From drab to fab frames in no time flat.

My supplies included:

  • Craft Paint and/or Spray paint
  • Paintbrushes (a wider one for the frame and a thin one for details)
  • Sandpaper (depending on the look you are going for)
  • Scrapbook paper
  • Glue or double-sided tape
  • Razor or scissors or paper cutter
  • That’s it!
picture frame before
The Before: classic 80’s/90’s gold opening border mat and a stained oak frame.

To keep the glass clean of paint, you should definitely start off by taking the glass out and painting everything separately. I painted the frame with inexpensive craft paint from Michaels. There’s a Michaels 1.3 miles away from me, so I tend to get everything I need there.

picture frame paint

I painted a full coat, so I couldn’t see any of the wood underneath. Then since I was going for a shabby chic look, I took a piece of sandpaper and lightly rubbed randomly around some edges.

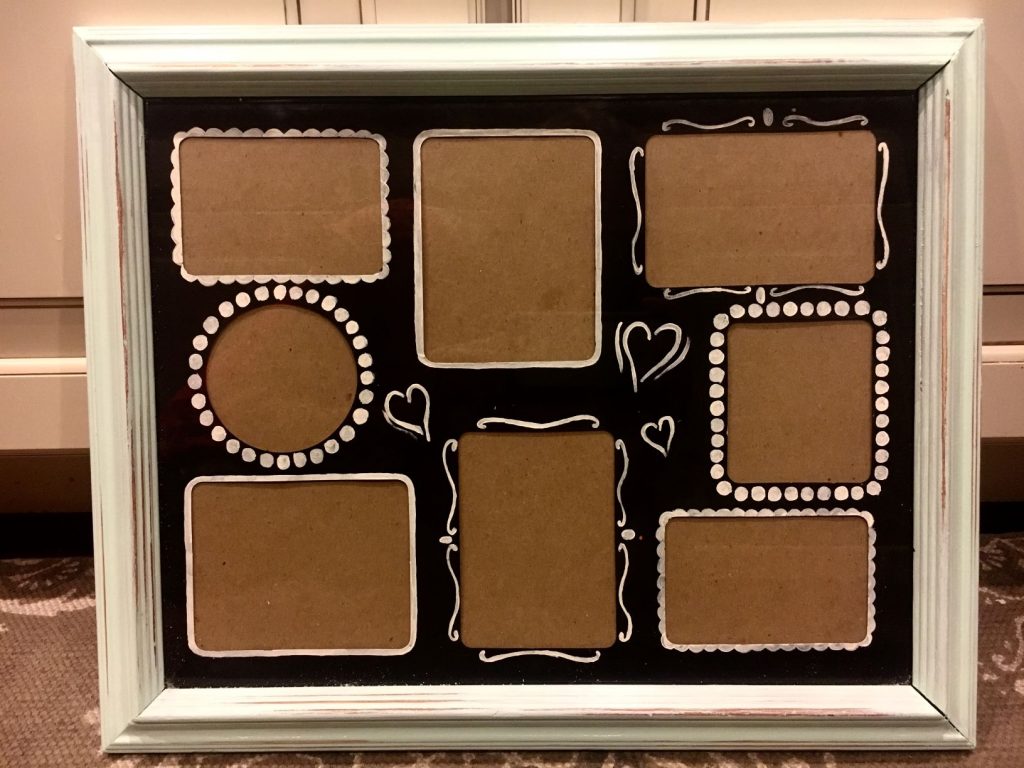
I took the mat out to paint it with cheap chalkboard paint from Michaels. It didn’t seem necessary to better paint since it wasn’t going to be used for writing. I used wax paper to paint on to save my kitchen counters.

Accents make the mat

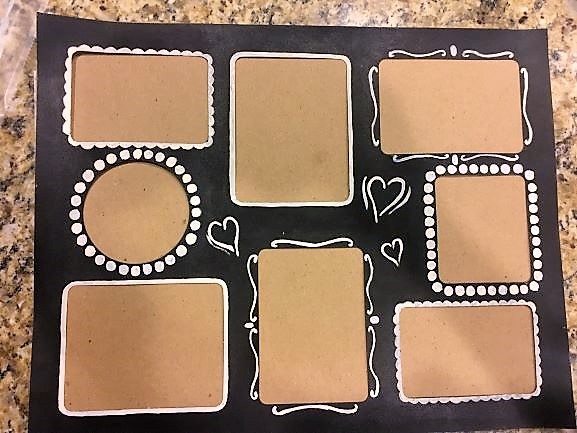
After the paint dried, I used a thin brush to paint some white accents around the photo openings. Feel free to let your creativity come out here! When everything was dry, I put it all back together so it was ready for some pictures of loved ones. It doesn’t get much easier than that.

A close-up of some of the sanded parts.

picture frame complete
A refinished frame in half an hour (or so)

Frame 2

Before

For my second frame, I took the same concept with the frame. I painted it with a coat of paint and sanded it in a few areas. Instead of painting the mat, I tore vintage 12 x 12 scrapbook paper into pieces and glued the pieces onto the mat. I didn’t worry about cutting the paper around the ovals while gluing. After the glue was dry, I flipped it over so the back was faceup. I used a razor to cut the paper overhang around the oval and voila, another finished frame refresh.

After (aka Drab to Fab Frame )

The last frame I redid was a metal gold frame. I took the glass out of each frame and sprayed a few layers of rose spray paint. For those who haven’t had much experience with a spray can, it’s best to do multiple thin layers rather than soaking it with a thick layer that is likely to drip.

Picture Frame 3

I had printed 4×6 photos which ended up being too small for the openings. Probably a good idea to measure before you print, but as it turns out, I liked the end look better than if the picture filled the frame. I decided to make due by taping the photos to a white cardstock paper and adding a border from scrapbook paper.

I used my paper cutter to ensure I cut straight lines. There’s a range of paper cutters you can get. Mine, in particular, was pretty inexpensive and is two-sided for different types of blades. If you should not happen to have a paper cutter, a ruler to draw a straight line and scissors will do just fine.

I used the sliding blade to cut the scrapbook paper for the border.

I used double-sided tape to adhere the photo and paper to the white back paper.

The double-sided tape dispenser is shown here. I, unfortunately, found it difficult to use.

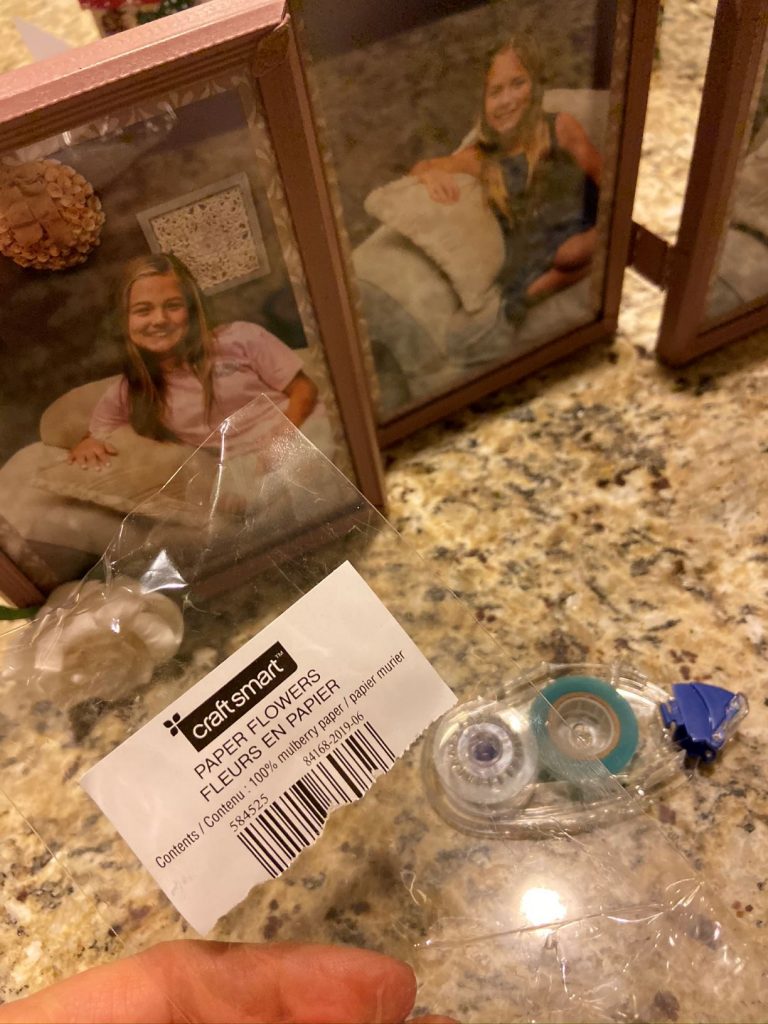
I happened upon some paper flowers at, you guessed it, Michaels, that felt like the perfect touch to add to this frameset.

Drab to fab picture frame

Final Product with my three girls to showcase it! I did a quick photoshoot in my bedroom with the girls to get this together.

Frame 4

These two oval frames came from my grandmother’s basement unused for years. It took me a bit to decide what to do with them. I ended up being inspired by some shabby chic hooks from Michaels. White spray paint, some 1/4″ board wood cut to size and scrapbooked paper gave the finished look.

That’s a wrap on these quick and easy revamps to take them from drab to fab frames. If you are anything like me, you likely already have all the materials. While you’re watching your favorite show tonight, go ahead and let your creativity out.

And if you’re looking for more ideas on how to use those frames, check out Framed Earring Holder

DIY Earring Holder Frame to Organize your Jewelry in Style

This blog was founded on the belief that you don’t have to spend a fortune in order to have beautiful things. I am a doer of ‘all things’ and have a passion for trying new things. I am learning some things as I go and sharing my experience with you. My mission is to show you that if I can do these things, SO CAN YOU! I’m starting things off with an easy DIY project, a Framed Earring Holder. Very few steps and a functional result. If you have earrings jumbled up in a jewelry box, find a frame to make into an earring holder along with me. No special skills required.

Materials:

  • Empty Frame
  • Hot glue gun & glue
  • Aluminum screen
  • Ruler/tape measure
  • Good pair of scissors
  • Spray paint or paint of your choosing

Option 2 with a chalkboard: Add

  • 1/4 in plywood
  • staple gun
  • staples
  • chalkboard paint
  • Paintbrush
  • Skinny Sticks
  • whatever saw you have available to cut the plywood

Years ago, I made a smaller earring holder, but my earring collection had overgrown that one. It was definitely time to get a make a new one! On a day my kids were out with my parents, I followed a random thought and ventured to Second Chance in Baltimore City. For those in the area, it’s a neat place to find tons of random stuff; from statues and sinks to frames and doorknobs. It’s definitely worth a trip if you’re in the market for second-hand items at reduced prices. I found a few frames and toy chest to redo for just the right project.

#toosmallearringholder
I had to fix a chip in the frame I was using, so I used a bit of wood filler to fill the hole. (bottom left) I’m guessing you won’t need to do the same, so skip on ahead. After fixing the chip, I spray-painted it with a dusty rose color.

Screen time

Start by measuring the inside lip of the frame (i.e. the widest and longest part of the opening when looking at the back of the frame). This is the size of the aluminum you need to cut with your good scissors.

Question is; what do you do with all the extra?……My Answer; store it in the garage with all the other extra materials….(and drive your husband crazy).

Since the aluminum screen already has a built-in square, you can use the vertical and horizontal lines to cut a straight line. Next up, heating up that glue gun with extra glue sticks at the ready. I’m constantly amazed at how quickly I can go through a stick.

FYI: my nails don’t normally look so nice. I was giving powder dip nails a try. I’d recommend them as a long-lasting manicure. That nail dip lasted 4 weeks for me and only needed to be redone because of the amount of regrowth at the bottom. I was completely impressed with it. If you want to learn more, check out this quick video on pros and cons.
You need to make sure to pull the screen tight while you are gluing or stapling. A sagging screen is not preferable for hanging earrings.

Final Product

That’s all I had to do to finish this frame. Time to put your earrings in and hang on the wall. Voila!

Frame Earring Holder and Chalkboard

Option 2 (and a half):

The first step for this option was to cut a piece of wood for half the opening. I cut a piece of 1/4 inch plywood to half the size of the opening, then painted it with a couple of coats of black chalkboard paint. I cut the screen to the size of half the frame with a bit of overhang to attach to the plywood.

Option 2 to attaching the screen is buying some skinny sticks (thanks for the find Walmart Skinny sticks) and stapling them. I really liked this method better than the glue. They fit perfectly within the inside of the lip and it was easier to attach then trying to hold the screen taught while hot glue dried. Can you say “small burns”?
Look how nice and tidy the staples and skinny sticks are here!

Frame becomes earring holder.

How easy was that?!

And that’s all she wrote. Two quick and easy projects to help you organize your earring collections. I hope the instructions were sufficient, easy to follow and that you end up with a great product. There’s never time like the present, so get started on your project today. If you’ve got more frames you’re hoping to give a new look, hop on over to https://www.catharticcrafting.com/more-fun-with-frames/ for some inspiration. Happy DIYing!!

RSS
Follow by Email
Pinterest
Pinterest
fb-share-icon
Instagram

Are you interested in getting alerts and information on all things coming out of Cathartic Crafting?! Then go ahead and submit your info below:

Verified by MonsterInsights