This project was inspired by a family visit to the Renaissance Festival, a wonderful place of creativity and imagination. My oldest was enthralled with so many of the crafts there and wanted them all. This was much the same feeling I had as a child going to the Renaissance. As a mother, I would have loved to buy her all the things, but my pocketbook definitely didn’t allow for that desire. For many of the crafted items, I put a pin in the idea in my mental board to create later. One of those wares was the leather-bound books with the intricate faces deftly shaped into them. They seemed like the perfect at-home project. And thus, this spooky Halloween Book Cover craft was born into being!
Spooky Halloween Book Cover Materials & Tools
- Book
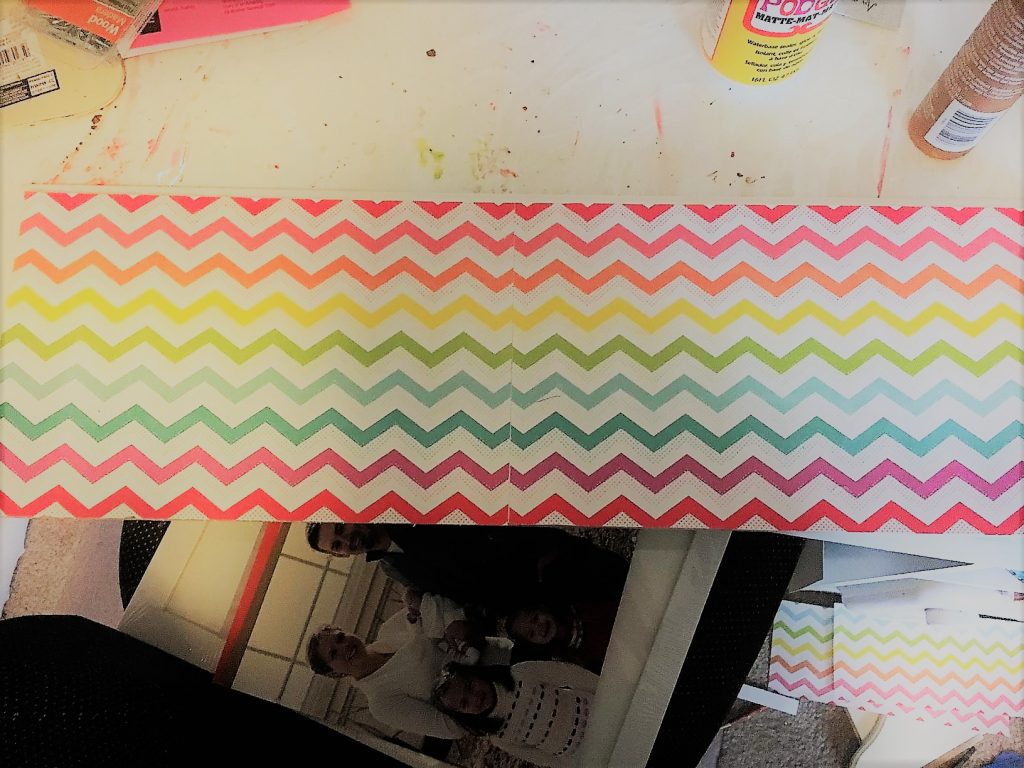
- Leather-like Material
- Hot Glue
- Paint
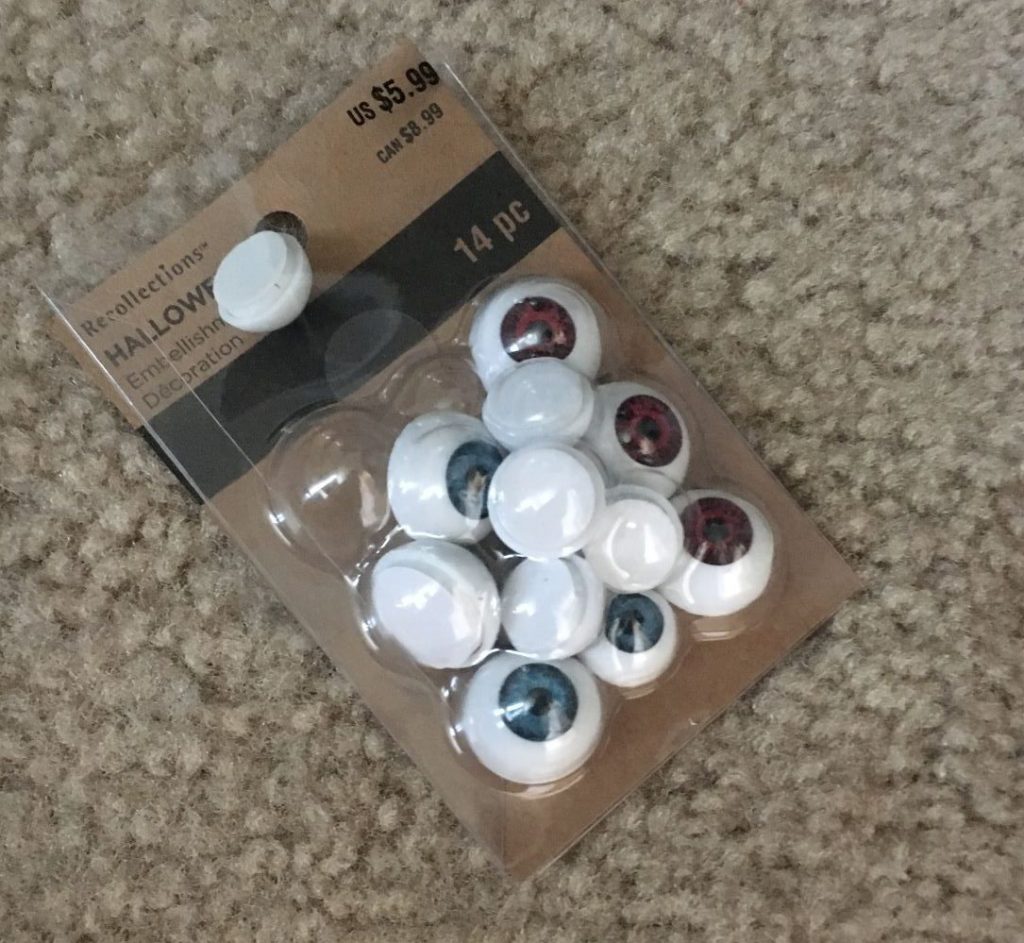
- Eyeballs
- Scissors
- Xacto knife
- Tissue Paper (Optional)
- Mod Podge (Optional)
For my first two books, I went ahead with using some old books I had but didn’t care much about. For the next two, I took a trip to Goodwill and happened to come across two books with topics that were a perfecting pairing with Halloween; bugs, and strange stories. I was pretty tickled by the finds!
Easy Crafting Steps for the Eyeball Look
Cut the material to size. With the book open, you want it to be about an inch and a half bigger on all sides. You can definitely make it a little bigger if you’re worried about it being too small.


2. Use the razor to cut small slits for the eyeballs. For my first attempt, I went with one eye on the binding of the book.


Being careful not to burn yourself, hot glue the outside of the material to the surface of the eyeball to give it eyelids. I ended up using a large tongue depressor to keep from burning myself.

5. Glue the rest of the cover to the outside of the book. As it cools, squish the material together to create ripples.

6. Trim the outside edges and notch the corners so when they are folded in, you get a clean diagonal seam.
7. Leave as is or add whatever shading or darkening you prefer to age the material.


8. Set it up to show off.


Spooky Bug Halloween Book Cover

Shading
HOT GLUE!
Much of this cover consisted of piling on the hot glue. I honestly don’t know what I would do without my hot glue guns and stock of sticks. Hot glue is truly versatile when it comes to crafting. My first attempt was to create the centipede on the underside of the leather. It didn’t work so well, so I ended up adding it to the top of the leather. And then I added more…. and then a little more to each bug. Let’s just say I went through a lot of sticks.

Cheap acrylic paint served me well to paint the bugs and do the shading. It stuck to the hot glue pretty well with several coats.


A sharpie was an easy and permanent way to add a few details.


Complete Spooky Bug Halloween Book Cover


Tissue Paper Flare
To create a wrinkled appearance, follow the easy steps:
- Apply Mod Podge to the surface.
- Then press small squares of tissue paper into the glue.
- Get a little extra Mod Podge onto a paintbrush before pushing into the tissue paper.
- Add additional layers of Mod Podge based on your desired look.
e


Happy Halloween Crafting!!