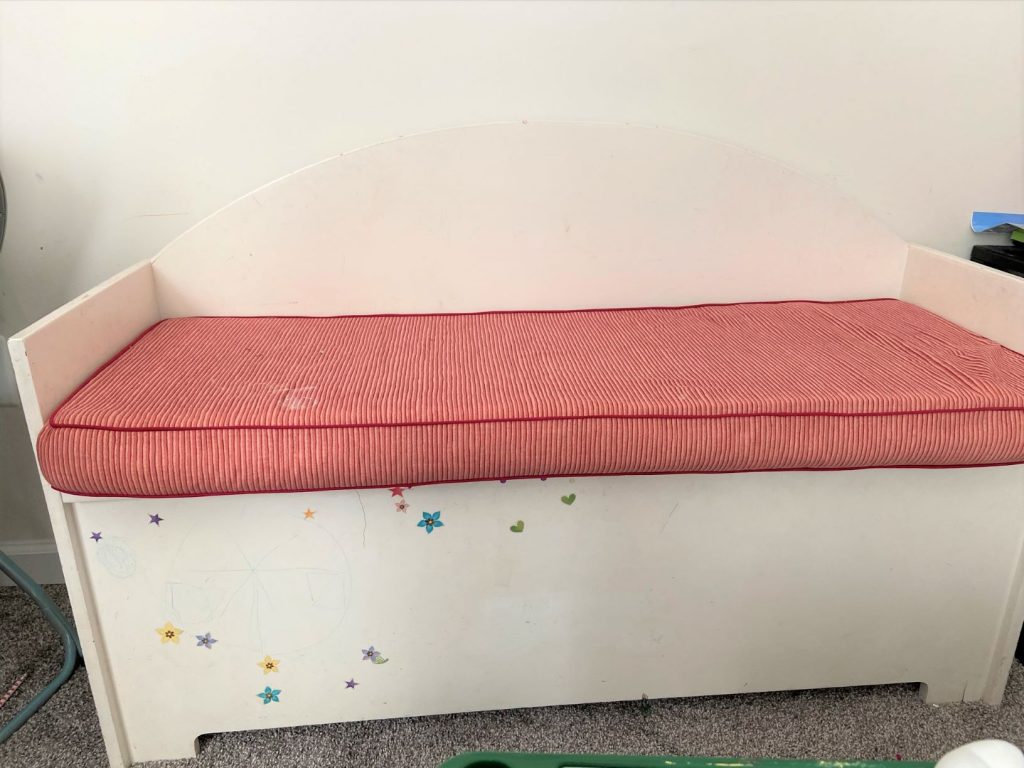
Sometimes when we grow tired of furniture, we decide to replace it with something new. Why not save the money by giving the piece a new look? For this storage bench, it wasn’t at all that I’d rather buy a new one, it was more, “I’m going to give it a more sophisticated look so my husband accepts it being in the hallway” scenario. My daughter no longer wanted it in her small room, so I decided the bench and the toys it stored might be a fit for the empty space in our upper landing. And thus starts the story of this storage bench refinish.


Bench Refinish First Steps
In all of my other refinishing posts thus far (Stenciled Coffee Table and Revamping a Bookcase) I’ve made it a point to reinforce sanding the surface before painting. I’ve also noted it’s not on my list of favorite things to do. With that being that case, I opted to grab this deglosser off the shelf during a shopping trip at Lowe’s. I figured if it saved me 30 minutes of sanding, it was worth the $8.
Basic instructions include putting the deglosser on a clean cloth and rubbing in a circular motion over all glossy surfaces. If you like easy, this is it. This bench definitely had a glossy surface despite all the years of use, which would definitely have been a paint chipping risk if I didn’t do something to it. I liked that using the deglosser didn’t involve full paint removal or scraping. Definitely, a thumbs down if trying to work in an arm workout (those who sand know what I mean) but a thumbs up for the mental state. Yet to tell is how effective it will be for keeping the paint in place.

Refinishing Paint Choice of the Day
In a few of my other refinishing projects, I’ve noted my choice for paints that fit a tight budget. This time, with some birthday money burning a hole in my pocket, I opted to get one of my favorite paints: Fusion Mineral Paint. Since all the stores within acceptable driving distance had closed, I decided to place an order with Vintique Finishes. I picked out two of the available colors and a new brush (brushes sadly don’t tend to last long with me) and was giddy with anticipation for the package arrival.

You can really see how thick the paint is here. I did two coats which is recommended for durability.


Gold had to go, so a few sprays of spray paint gave them a new look.
Quick Shopping Trip
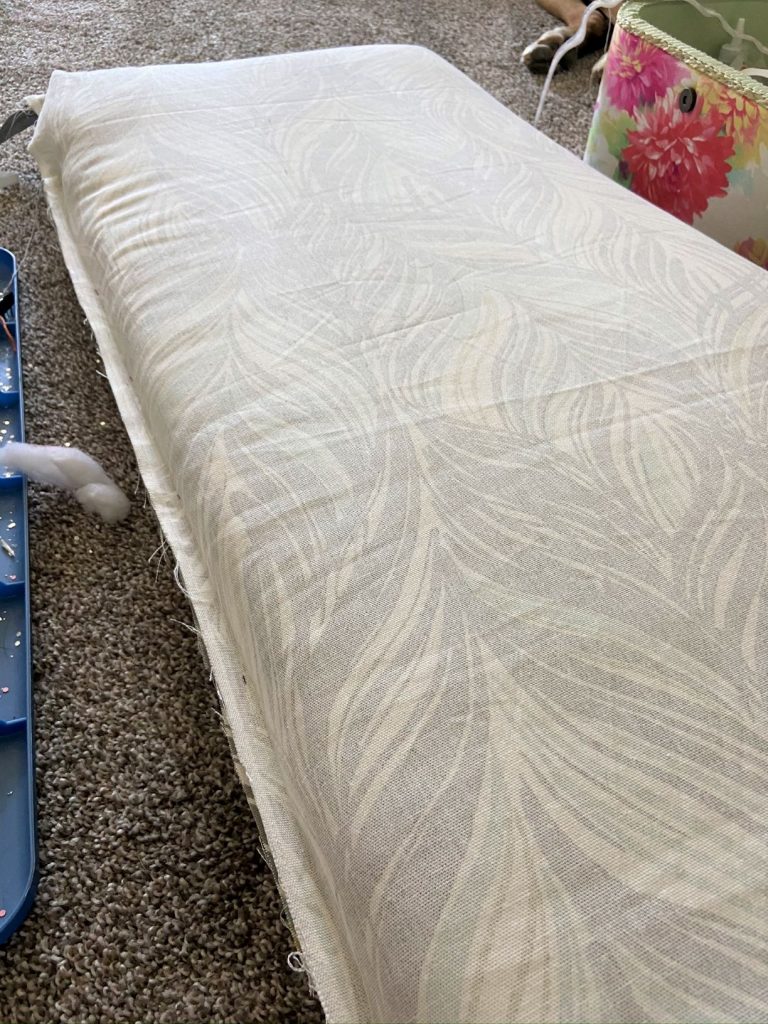
I don’t normally shop for fabric online because it’s hard to get a feel for scale. Not knowing what I wanted to get for the bench pad, I decided to do it this time as it seemed much easier to look at the little squares of options. This ended up being a wise choice. I found this feathered home decor fabric at Joann’s that ended up matching perfectly with the Sacred Sage fusion paint. After placing my order, I picked it up the next day before swinging by Hobby Lobby on a stencil search. I found two options as seen below. One was a silkscreen stencil, which I hadn’t tried before.

Sewing Time
I admittedly wing my sewing projects since I’m not an expert sewer. Contemplation is the name of the game. I tend to contemplate the best method to go at it for a bit and then push myself to start. Doing a box cut would be easier to do to have all the seams on the corner, but I just didn’t feel like doing all that cutting and sewing if I could achieve it by keeping the material completely intact. Here’s a video by Peg Baker on how to achieve the box cut pattern. I bought a 22-inch invisible zipper (that’s the longest they had in stock) and went to work. Given that the zipper wouldn’t haven’t been long enough for the back, I decided to put it on the end. This was a bit trickier than if I’d have gone with the long back seam.


Bench Refinish Stencil Mania
Silk Screen Stencils
Like I said, I hadn’t used silkscreen stencils. I wasn’t even sure what the difference would be between them and traditional stencils. After seeing what made them unique, I’m in love.


The magic of this is their sticker-like quality. Stick them in place and use a fair amount of paint applied with a sponge brush. No tap tap tapping is needed here. I loved that fact alone.


My daughters watched intently while I worked on my project. All the while telling me I use stencils for too many things. It’s not far from the truth. I have come to use stencils in many of my projects as a preferred way to add a unique flair. I suppose I’ll refrain from stencils on my next refinish to avoid becoming a one-trick pony. Anyway, I initially did 5 feathers. After sleeping on thinking it was a bit blah, I decided to go for a feather frenzy. I was glad I did by the end.
Final touch
I had thought I was finished but just wasn’t quite as happy with the transformation. The bottom portion was missing something but I was afraid of adding another explosion of feathers there. I opted to give it a faux cut out look by painting rectangles.


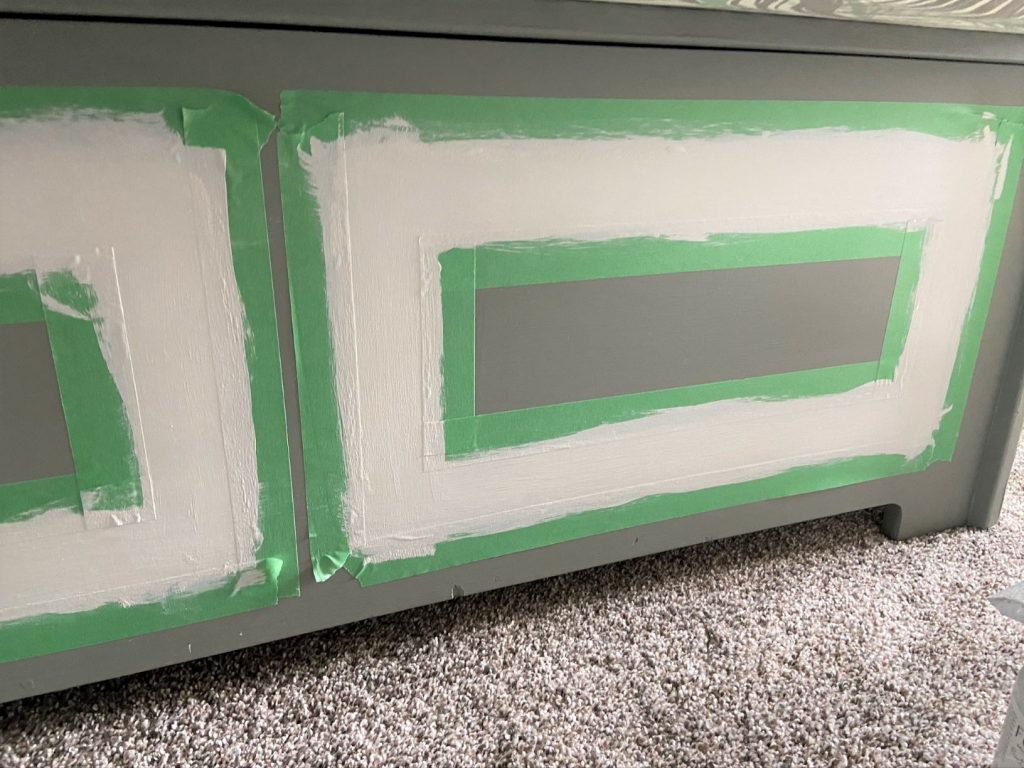
Out came the squares, painter’s tape, and measuring tape. I used the width of the small square for tracing to make my life easy. I did a bit of math to ensure the rectangles would be spaced equally apart and from the outside edge. Then I used some Lamp White fusion paint I had leftover from another project. After peeling off the paint, I called it complete.
The Before and After

What do you think? My youngest preferred the white and was a bit upset by the change. My 10-year-old on the other hand felt it was an awesome transformation. To each her own I suppose when it comes to refinishing. I hope you enjoyed this storage bench refinish and it gave you some ideas for your own projects. If you’re looking for more, take a look at Furniture Refinishing.
*This page contains affiliate links. This means if you use one of my links to make a purchase, I will receive a small commission at no additional cost to you. Thank you for supporting Cathartic Crafting!


3 Comments on Easy Storage Bench Refinish from Drab to Fabulously Feathered